
Is Your Low Voltage Rescue Kit in Order? Items to Check
Most sparkies only find out whether their low voltage rescue kit is in order when somebody else asks to see it. A site manager at induction, an auditor, a trainer on refresher day. You pop the canopy, dig under a coil of TPS and a box of saddles, and there it is. Hook's got paint on it. One glove has gone walkabout. And the CPR mask got borrowed a while back and never came home.
The thing is, that kit isn't there for the auditor. It's what your crew grabs when someone's stuck on a live board, and one missing item slows the whole rescue down. That's the only scary line you'll get from me.
So sort it at the workshop, not at the site gate. This guide is written for Brisbane contractors running small crews across commercial, residential and solar work.
How Often Should a Low Voltage Rescue Kit Be Inspected?
A low voltage rescue kit should get a visual check before every use. On top of those pre-use checks, kit manufacturers commonly recommend a full inspection every 6 months, going over each item properly.
Here's the rhythm most crews can stick to:
Before each use. Quick look. Everything's there, nothing's cracked, torn or missing.
Every 6 months. Full inspection of each item against the kit's contents card.
After any rescue or damage. Inspect, replace and restock before it goes back in the ute.
Once a year with your LVR and CPR refresher. The kit's already out on the bench, so go over it while the trainer's there.
Record every inspection in a logbook or your job management app. If it isn't written down, as far as a builder's concerned it didn't happen.
For a manufacturer example, Balmoral Engineering's instructions for use set out their inspection intervals, so check the paperwork that came with your own kit too.
Why Your LVR Kit Needs to Be Ready Before the Job Starts
Knowing how often is the easy bit. Here's why it's worth doing properly.
A rescue kit has to work first go
Your kit sits in the canopy doing nothing. Then it comes out once, under pressure, with a mate on the board. A cracked hook or a perished glove means someone stops to find a replacement, and that's time the person on the board doesn't have.
Remember that hook with paint on it and the glove that went walkabout? Fine at the workshop. Not fine on the day. For what the rescue itself looks like, our guide to Low Voltage Rescue Procedures: Brisbane walks through it step by step.
Rescue and resuscitation training under Queensland law
A lot of sparkies search for LVR kit requirements Queensland and expect a shopping list. Under the Electrical Safety Regulation 2013, workers doing electrical work need to be competent in rescue and resuscitation, and that competency has to be kept current. The law sets the training requirement. It doesn't list what goes in your bag.
The Electrical Safety Office Queensland is the place to check the current wording, and our Queensland LVR requirements guide breaks it down in plain English.
What builders and site managers may check
Plenty of builders and site managers want to see your kit and training records at induction or during a site audit. Show up with a kit that's missing bits, or a ticket that's lapsed, and you can be turned away at the gate. That's a billable day gone and a builder who remembers it.
Low Voltage Rescue Kit Checklist: What to Check on Each Item
Grab your kit and go through it in this order.
Contents vary by manufacturer, so check yours against its contents card. Our breakdown of LVR Kit Components covers the usual gear.
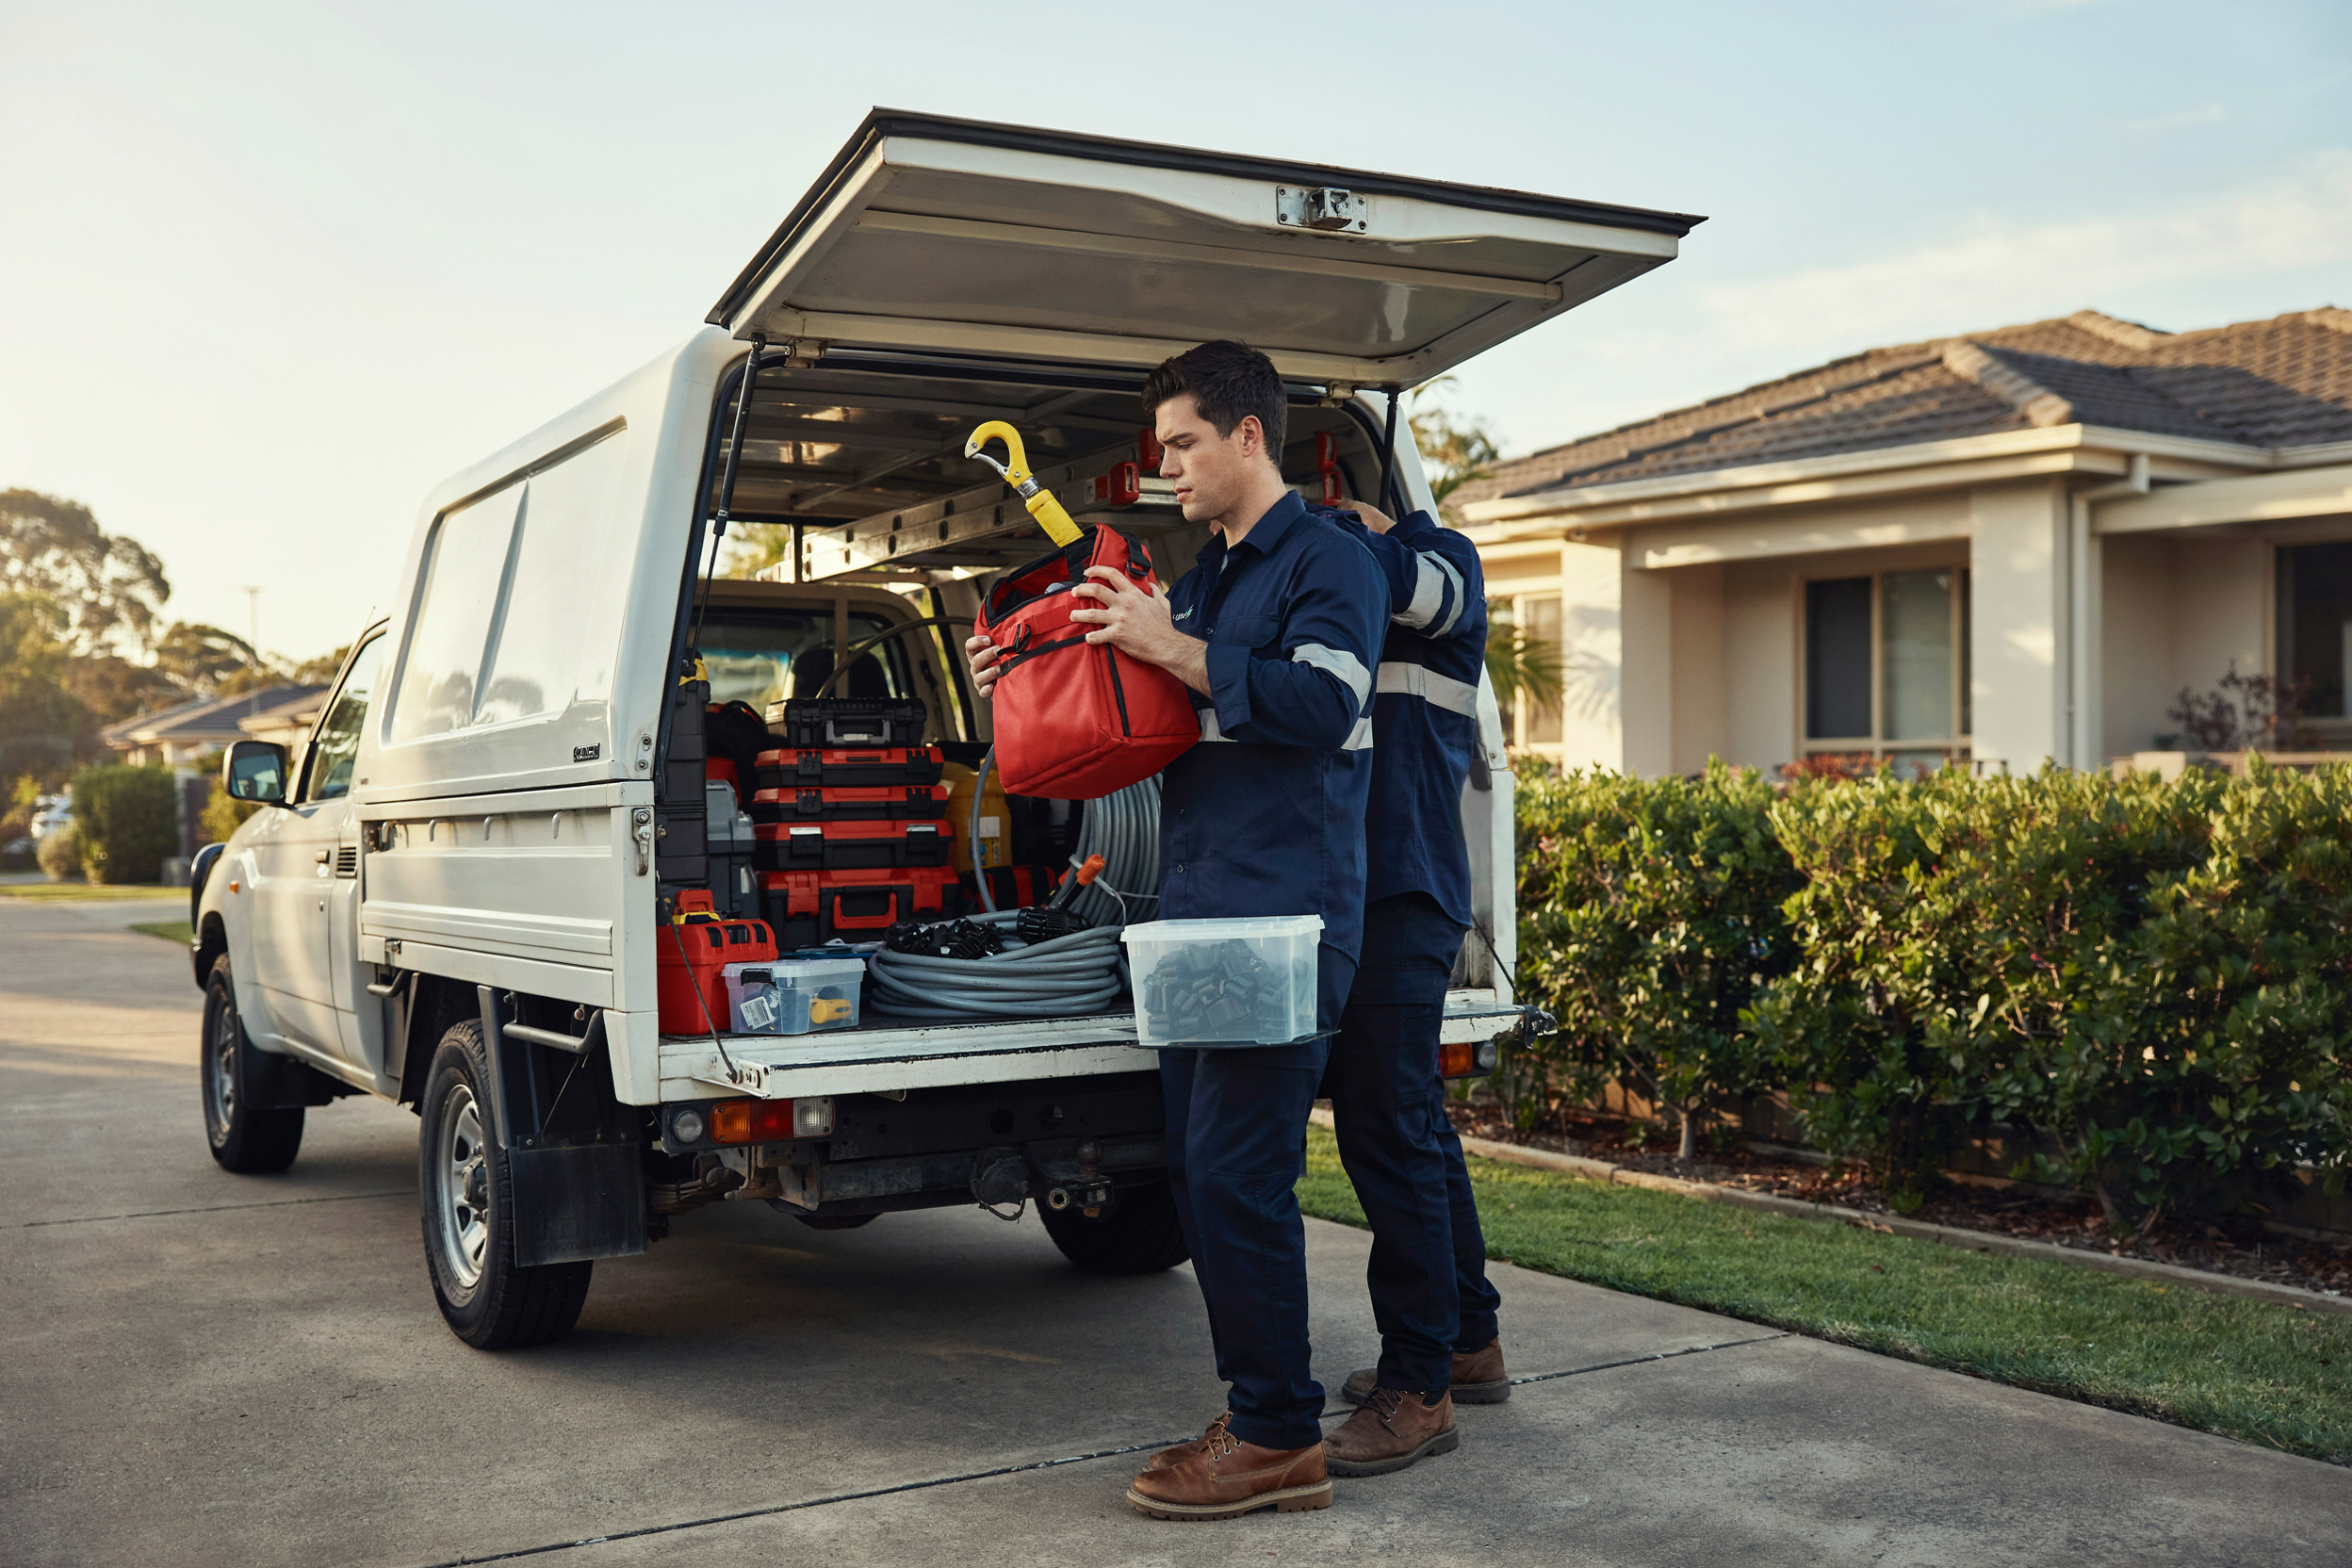
Insulated rescue hook (crook)
This is the one you'll use to pull someone off the board, so it gets the closest look.
Check: Run your hand and eyes along the full length for cracks, chips and splits. Look for paint, grease or conductive dust on the insulated section. Check for UV chalking, that dull, powdery surface from cooking in the sun. And give the fittings a wiggle.
Replace if: There's any damage at all to the insulated section. Never tape it. Never repair it. A hook with electrical tape round a crack isn't a rescue hook anymore, it's a stick.
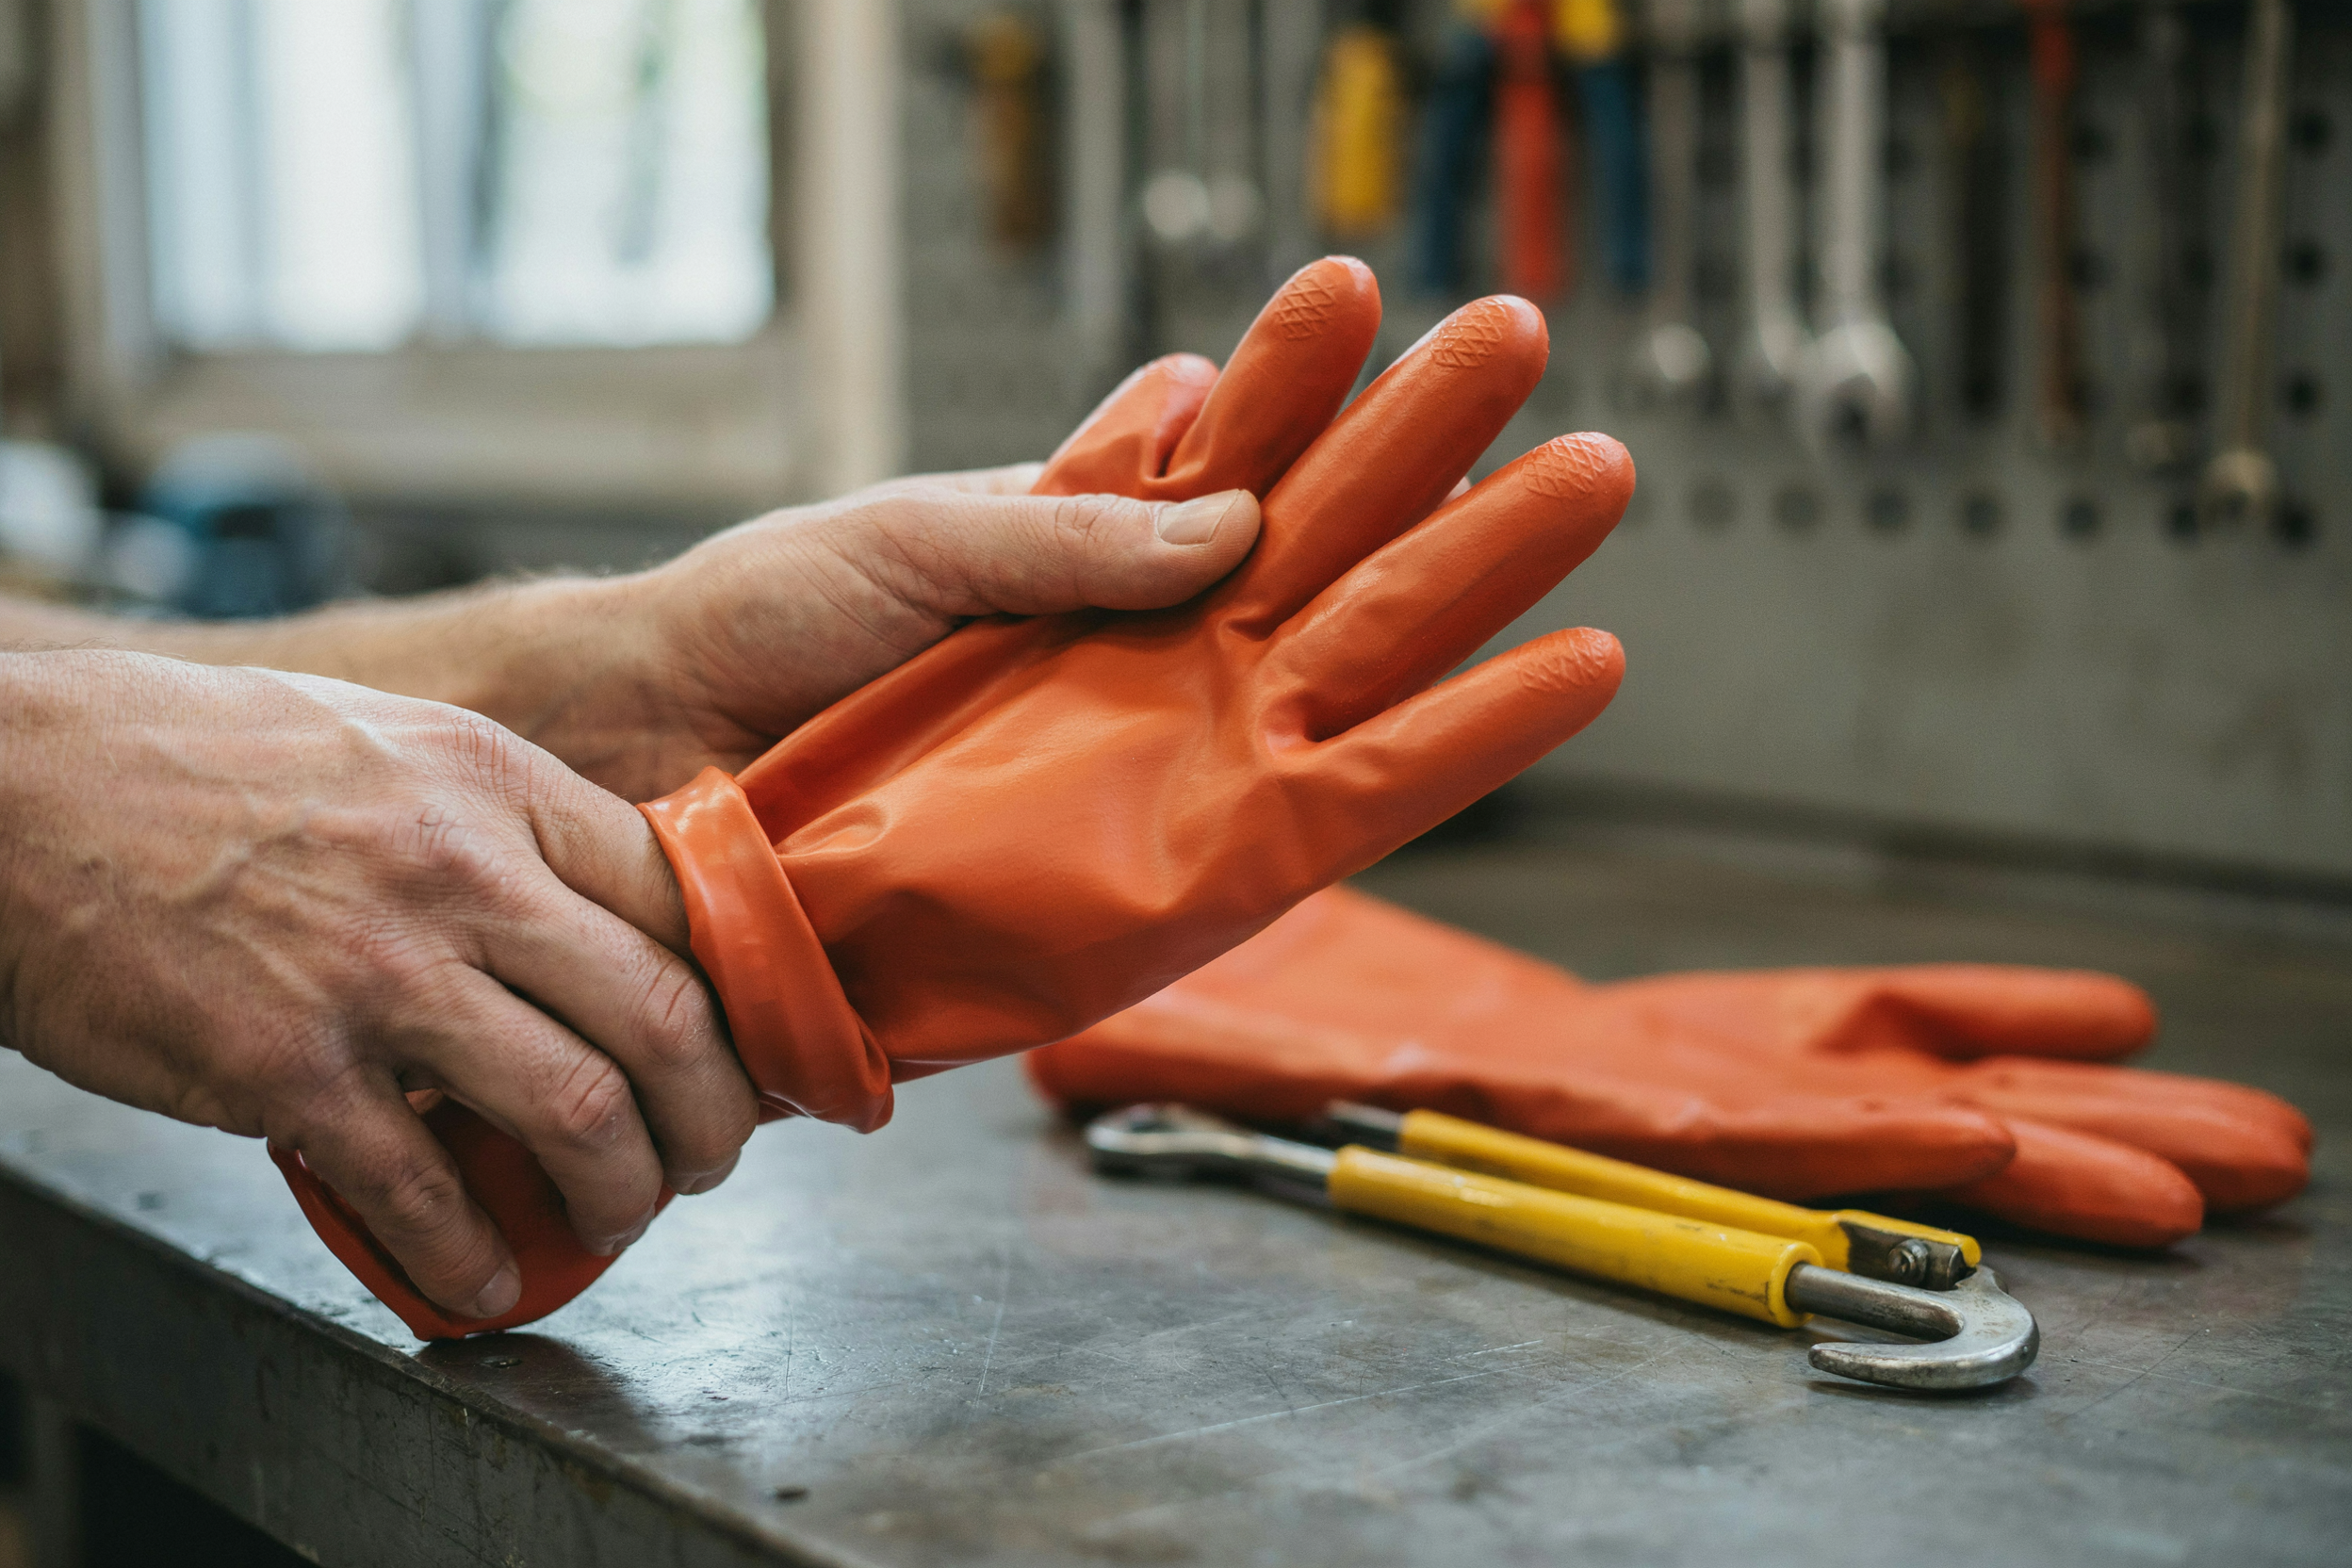
Insulating gloves
Check: Do the air test. Roll the glove up from the cuff to trap air in the fingers, then squeeze and feel for pinholes. Look over the rubber for cuts, stickiness, swelling or cracking. Check the voltage class marking is readable, and find the date of the last electrical test.
For the standard, IEC 60903 has superseded AS/NZS 2225. There's more on that in our Low Voltage Rescue Kit: Australian Standard Guide.
Replace if: It fails the air test, shows any of that damage, the class marking's gone, or it's overdue for a test.
Fire blanket
Check: Pull tabs are there and intact, the pack is still sealed, and the expiry or service date hasn't passed. The manufacturer will usually cite AS 3504 on the packaging.
Replace if: A tab's missing, the pack's been opened, or it's past its date.
CPR face shield or resuscitation mask
Honestly, this is the item that goes missing most. Someone borrows it for another van and it never comes back.
Check: It's actually there, still sealed, the one-way valve is intact, and it's within its use-by date. For how it gets used in a resus, stick to ANZCOR guidelines only.
Replace if: It's been opened, used, damaged or it's out of date. Or it's just gone.
Torch, signage and barrier items
Check: If your kit includes a torch, turn it on and look for battery leakage. If your kit includes danger tags and barrier tape, check there's enough to be useful.
Replace if: The torch doesn't work, batteries have leaked, or the tags and tape are used up.
Kit bag or wall cabinet and the instruction card
Check: Zips work and seals close. The contents card and rescue procedure card are there and still readable. And the kit's stored somewhere it can be reached fast, not buried under a coil of cable.
Replace if: Zips or seals have failed, or the cards are missing or unreadable.
Low voltage rescue kit checklist: what to check on each item
Item | What to check | Signs it's done | Action |
Insulated rescue hook | Cracks, chips, splits, contamination, UV chalking, loose fittings | Any damage to the insulated section | Replace. Never tape or repair |
Insulating gloves | Air test, cuts, stickiness, swelling, cracking, class marking, test date | Fails air test, damaged, marking gone, test overdue | Replace or send for re-test |
Fire blanket | Pull tabs, sealed pack, expiry or service date | Tab missing, pack opened, out of date | Replace |
CPR face shield or mask | Present, sealed, valve intact, use-by date | Opened, used, damaged, expired or missing | Replace |
Torch, signage, barrier items | Torch works, no leakage, tags and tape present | Dead torch, leaked batteries, used up | Replace or restock |
Kit bag or cabinet and cards | Zips, seals, readable cards, reachable storage | Broken zips or seals, missing or faded cards | Repair storage, replace cards |
Tick it off as you go
☐ Rescue hook: no cracks, contamination, chalking or loose fittings
☐ Gloves: passed the air test, no damage, marking readable, test date current
☐ Fire blanket: tabs intact, sealed, within date
☐ CPR face shield or mask: present, sealed, valve intact, within use-by
☐ Torch, tags and tape: working and stocked (if included)
☐ Bag or cabinet: zips and seals OK, cards readable, easy to reach
How to Record Your LVR Kit Inspections
Found a problem? Write it down before you forget which van it was.
A record doesn't need to be fancy. It just needs to be the same every time and easy to find when a builder or inspector asks. Most blokes do the check fine. It's the writing it down that slips.
What each record should show
Every inspection record should have:
The date of the check
Who did the inspection
The kit ID or which van it lives in
The items checked
Any defects found and what was done about them
When the next check is due
That last one's the one people skip.
One kit per van, one record per kit
Once you've got five or more on the crew, give each kit its own ID. Something simple like LVR-01, LVR-02 tagged on the bag. That way when someone says the gloves are cooked, you know exactly which kit, which van, and which record to update.
Extra Checks for Solar and Battery Installers
More Brisbane sparkies are doing solar and home battery work than ever. With low voltage rescue solar and battery sites, the kit is the same bag but the job around it isn't.
Why mixed AC and DC sites change the picture
On a standard switchboard job, you usually know where the isolation point is. On a site with solar and a battery, there's more than one. You've got the inverter, the battery and the PV array, and each of them can still be feeding something after the main switch is off.
In a rescue, the person grabbing the kit needs to know where all of those are without thinking about it. So keep a current site isolation diagram with the kit on those jobs. Not in the office. Not on someone's phone. In the kit, where the rescuer's hands already are.
Know the site before you need the kit
The best prep for a solar or battery site is simple stuff done before anyone opens a board. Walk the site, find every isolation point, check the diagram matches what's installed, and make sure everyone on the job knows where it's kept. Your standard kit checks still apply on top of that.
For more on this type of work, have a read of our solar and battery LVR article.
Common Reasons LVR Kits Fail a Check
Most kits don't fail because of the gear. They fail because of where it lives.
Your ute is a workshop, storeroom and lunchroom in one, and the rescue kit ends up in there with everything else. When it comes to LVR kit maintenance, these four show up again and again:
Stored in a hot ute or canopy. Fix: keep it in a shaded compartment, out of direct sun, and away from fuel and solvents.
Items borrowed and not returned. Fix: one rule for the crew, anything that comes out of the kit goes back in before knock-off.
Gloves never re-tested. Fix: put the next test date in your log and check it every inspection (see the gloves checklist above).
Used and never restocked. Fix: restock straight after any use, before the kit goes back in the ute.
None of these are hard to sort. They just need someone to own it, even if that's the apprentice.
Show Image
If keeping track of it all is the bit that falls over, grab our free crew training tracker and put your kit checks in the same place as your crew's tickets.
A Kit in Order Still Needs a Crew That Can Use It
A perfect kit won't help if nobody on the crew has practiced with one lately. The kit is half of it. The other half is someone who's done the rescue with their own hands recently enough that it comes back without thinking.
That's why rescue and resuscitation competency needs to stay current, and why most Brisbane sparkies book a refresher every year. The low voltage rescue unit is UETDRRF004, and it's usually bundled with HLTAID009 CPR so the whole thing gets done in one session instead of two. If you're searching for LVR and CPR Brisbane, that combo is the one you want.
A good LVR refresher Brisbane session should put a real rescue kit in your hands, not just show you slides of one. Ours use real LV rescue kits and switchboard mock-ups, so you're pulling someone clear with an actual hook and actual gloves. Bring along anything dodgy you found in your own kit and ask the trainer.
Got a crew? We can come to you. Onsite training means early starts, no travel, and the boys back on site sooner. It also lets you pull the whole crew onto one renewal date, so you're not chasing tickets that lapse in different months.
Everyone walks out with same-day certificates they can upload straight to induction portals, so no one gets knocked back at the gate.