Manual Resuscitator Use: A Step-by-Step Guide for Clinics
It's mid-afternoon on a sedation day and surgery three has been running smooth since lunch. Then the patient's breathing slows. The dentist calls for the emergency kit, and the dental assistant beside the chair is suddenly holding a resuscitator she last unpacked at training. She needs a mask seal, the oxygen tubing connected and the right breath rate, all while every set of eyes in the room is on her. That's the problem with manual resuscitator use. Most of us only practice it at training, and that's exactly why it fades.
A manual resuscitator, which you'll often hear called a bag-valve-mask or BVM, gives breaths to a patient who isn't breathing, or isn't breathing enough. Hook it up to oxygen and it delivers a far higher concentration than rescue breaths alone.
This guide walks you through the lot: checking your own device, the mask seal, oxygen, the ANZCOR breath rate, two-person technique, common mistakes and how HLTAID015 training keeps your team ready.
How to Use a Manual Resuscitator
To use a manual resuscitator (bag-valve-mask), follow these steps:
Check the device: correct mask size, bag recoils, valve and reservoir attached.
Kneel or stand at the patient's head and open the airway with a head tilt and chin lift.
Place the mask over the mouth and nose, narrow end on the bridge of the nose.
Hold a tight seal with a C-E grip: thumb and index finger press the mask, other fingers lift the jaw.
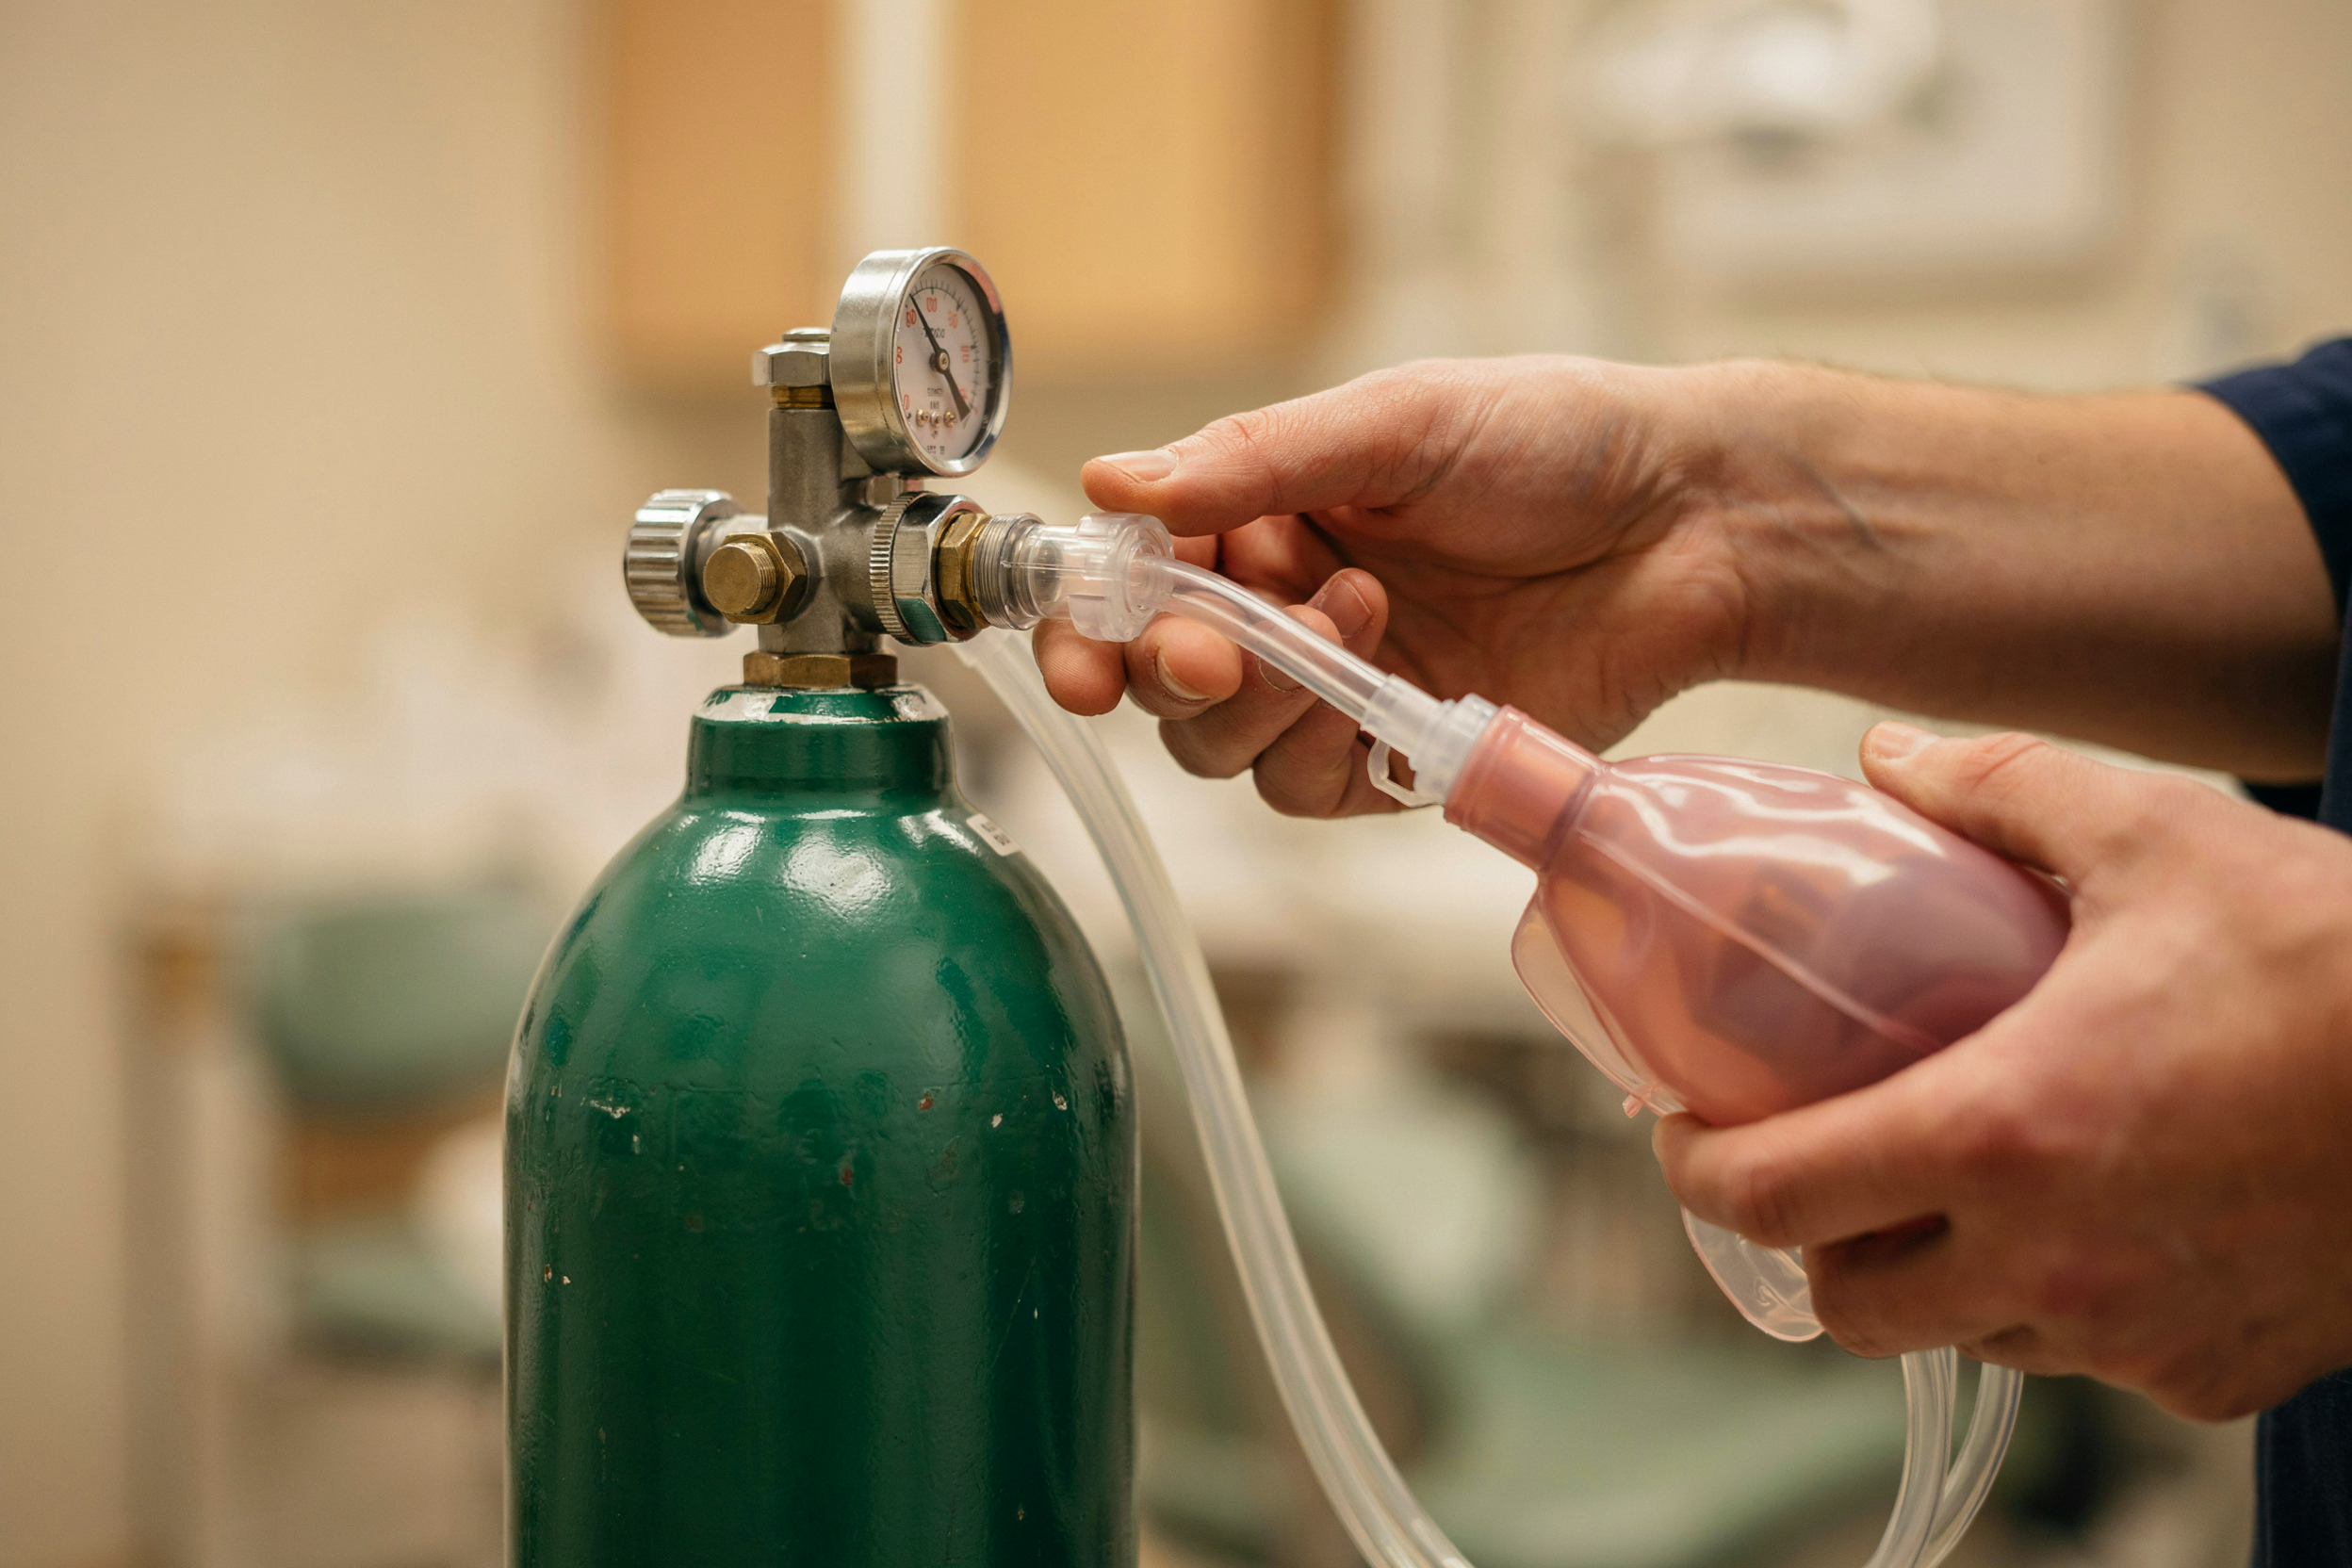
Connect oxygen at a high flow and let the reservoir fill, without delaying breaths.
Squeeze the bag smoothly over about one second, just until the chest rises.
Release fully and watch the chest fall before the next breath.
During CPR, give 2 breaths after every 30 compressions.
What Is a Manual Resuscitator?
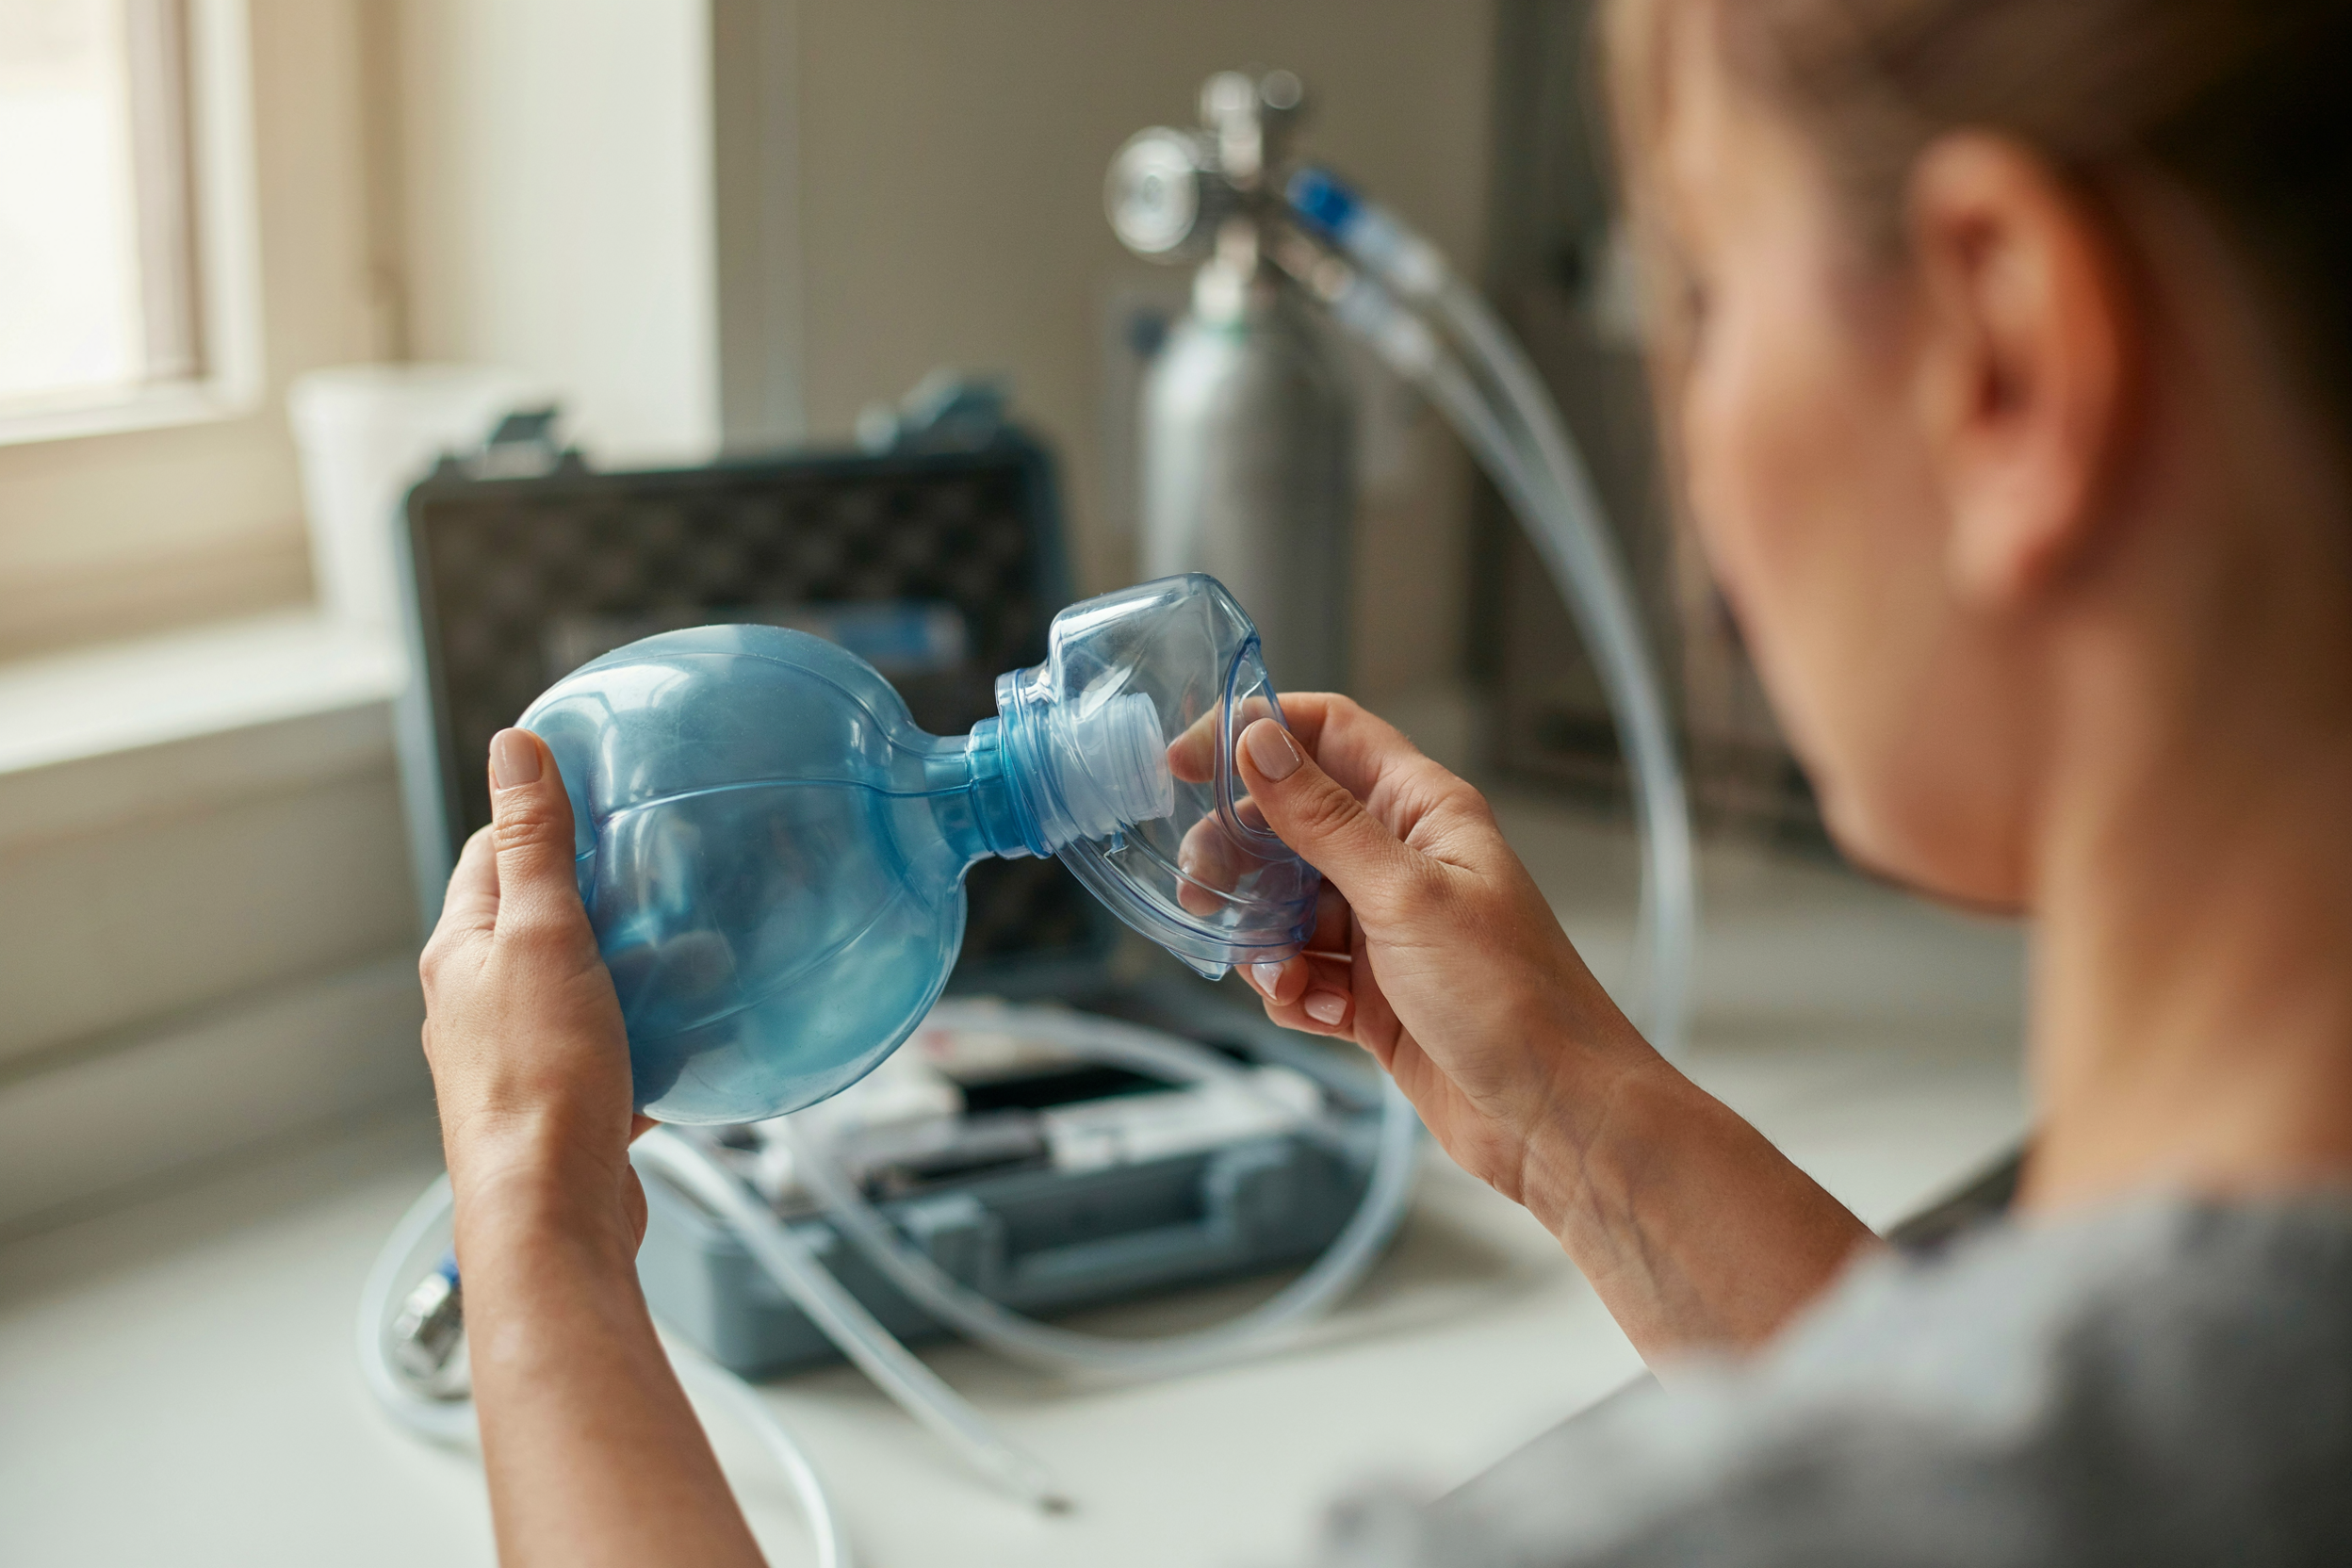
A manual resuscitator is a hand-held device that gives breaths to someone who isn't breathing, or isn't breathing adequately. It's a face mask, a self-inflating bag and a one-way valve working together, and you'll hear it called a bag-valve-mask, BVM, or the brand nickname Ambu bag.
The Parts and What Each One Does
Face mask: seals over the mouth and nose so the breath goes into the patient, not out the sides.
Self-inflating bag: you squeeze it to give a breath, and it springs back ready for the next.
One-way valve: sends air into the patient and lets their breath out without it going back into the bag.
Oxygen inlet: where the tubing from your oxygen cylinder connects.
Reservoir: fills with oxygen so each squeeze delivers more of it.
Pressure-relief valve (on some models): vents air if the pressure gets too high.
Adult, Child and Infant Sizes
Bag volumes and mask sizes aren't one-size-fits-all, and your practice kit should hold the sizes your patients actually need. Some devices are single-use, others are reusable, so check the manufacturer's instructions for yours.
Check Your Practice's Manual Resuscitator Before You Need It
Trainers see it all the time. The AED pads are expired, the cylinder's nearly empty, or the tubing's gone missing, and finding that out with a patient in the chair is a whole different story.
A Quick Pre-Use Check
The bag recoils fully after you squeeze it
The valve moves freely
No cracks or tears on the bag, valve or mask
The mask cushion is inflated
The reservoir is attached
The oxygen tubing is there
Packaging and expiry dates are in date
What Else Belongs With It
The resuscitator doesn't work alone. Your dental practice emergency kit should also have an oxygen cylinder that's full and within its service date, a regulator, tubing, oropharyngeal airways, a suction unit and an AED with in-date pads and battery.
How Often to Check
Set a scheduled check, per your practice policy and the manufacturer's instructions, and have whoever does it sign a log. That log keeps the kit ready and gives you accreditation evidence when a surveyor asks.
Once you know the device is ready, the next skill decides whether any air gets in at all: the mask seal.
How to Get a Mask Seal That Holds
If there's one skill that makes or breaks bag-valve-mask ventilation, it's the seal. You can squeeze the bag perfectly, but if air's leaking around the edges, very little reaches the lungs.
Choosing and Positioning the Mask
Put the narrow end over the bridge of the nose and the wide end between the lower lip and the chin. A mask that's too big leaks at the chin. One that's too small ends up covering the nostrils.
Opening the Airway
Head tilt and chin lift is your default. If you suspect a neck injury, use a jaw thrust instead. And if you're trained and the patient has no gag reflex, an oropharyngeal airway helps keep the tongue out of the way, which is one of the skills HLTAID015 covers.
The C-E Grip, One Hand and Two Hands
Your thumb and index finger make a C pressing the mask down, while your other three fingers make an E along the jaw, lifting it into the mask. On your own, you do this one-handed and squeeze with the other. With a second person squeezing the bag, you can use both hands on the mask, and the seal is far more reliable.
Problem Faces: Dentures, Beards and Small Mouths
Well-fitting dentures can usually stay in. Loose ones come out. Facial hair is a common source of leaks, so go two-handed, and for smaller faces it comes back to picking the right mask size from the kit.
With a good seal in place, the next question is what you're pushing through the bag: room air, or oxygen.
How to Connect Oxygen to a Bag-Valve-Mask
A manual resuscitator with oxygen attached is a different tool from one running on room air. The reservoir fills, each squeeze carries more oxygen, and the patient gets far more of what they need.
Step by Step
To connect oxygen to a bag-valve-mask:
Open the cylinder and check the gauge.
Attach the tubing to the regulator outlet and the bag's oxygen inlet.
Set the flow rate recommended in ANZCOR guidelines.
Let the reservoir fill, as long as it doesn't delay ventilation.
Don't Wait for Oxygen
If the patient needs breaths now, start ventilating with room air and attach oxygen as soon as it's ready. A patient sitting there without breaths while someone fumbles with a regulator is the bigger risk, and the ANZCOR oxygen guideline has more on oxygen use in first aid.
Oxygen Safety Around the Dental Chair
No oils or grease on fittings
Keep it away from ignition sources
Secure the cylinder upright so it can't tip
Once oxygen's flowing, the next thing to get right is how much and how often you squeeze.
Ventilation Rate and Volume: How Much and How Often
Under adrenaline, almost everyone squeezes too hard and too fast. The BVM ventilation rate is where a calm, practiced hand makes the biggest difference.
The One-Second, Visible-Chest-Rise Rule
Squeeze the bag over about one second and stop as soon as you see the chest rise (ANZCOR). Chest rise is your target, not how much of the bag you empty.
Breaths During CPR
During CPR, give 2 breaths after every 30 compressions (ANZCOR). Keep the pauses in compressions as short as you can, because every moment off the chest counts.
A Patient Who Is Breathing Inadequately
When a patient is still breathing but not well enough, you give rescue breaths with the manual resuscitator at the rate set out in ANZCOR guidelines and taught in HLTAID015.
Why Over-Ventilating Causes Harm
Too much air, too fast, and some of it goes into the stomach instead of the lungs. That gastric inflation raises the risk of vomiting and aspiration. During CPR, fast breaths also reduce blood flowing back to the heart.
Getting the rate right is much easier when one person isn't trying to do everything at once.
One-Person vs Two-Person Technique
Holding a mask seal with one hand and squeezing with the other is hard work, even for experienced people.
Why Two People Beats One
In the two-person BVM technique, one person holds the mask with both hands while the other squeezes the bag. The seal is better, the ventilation is better, and nobody's juggling.
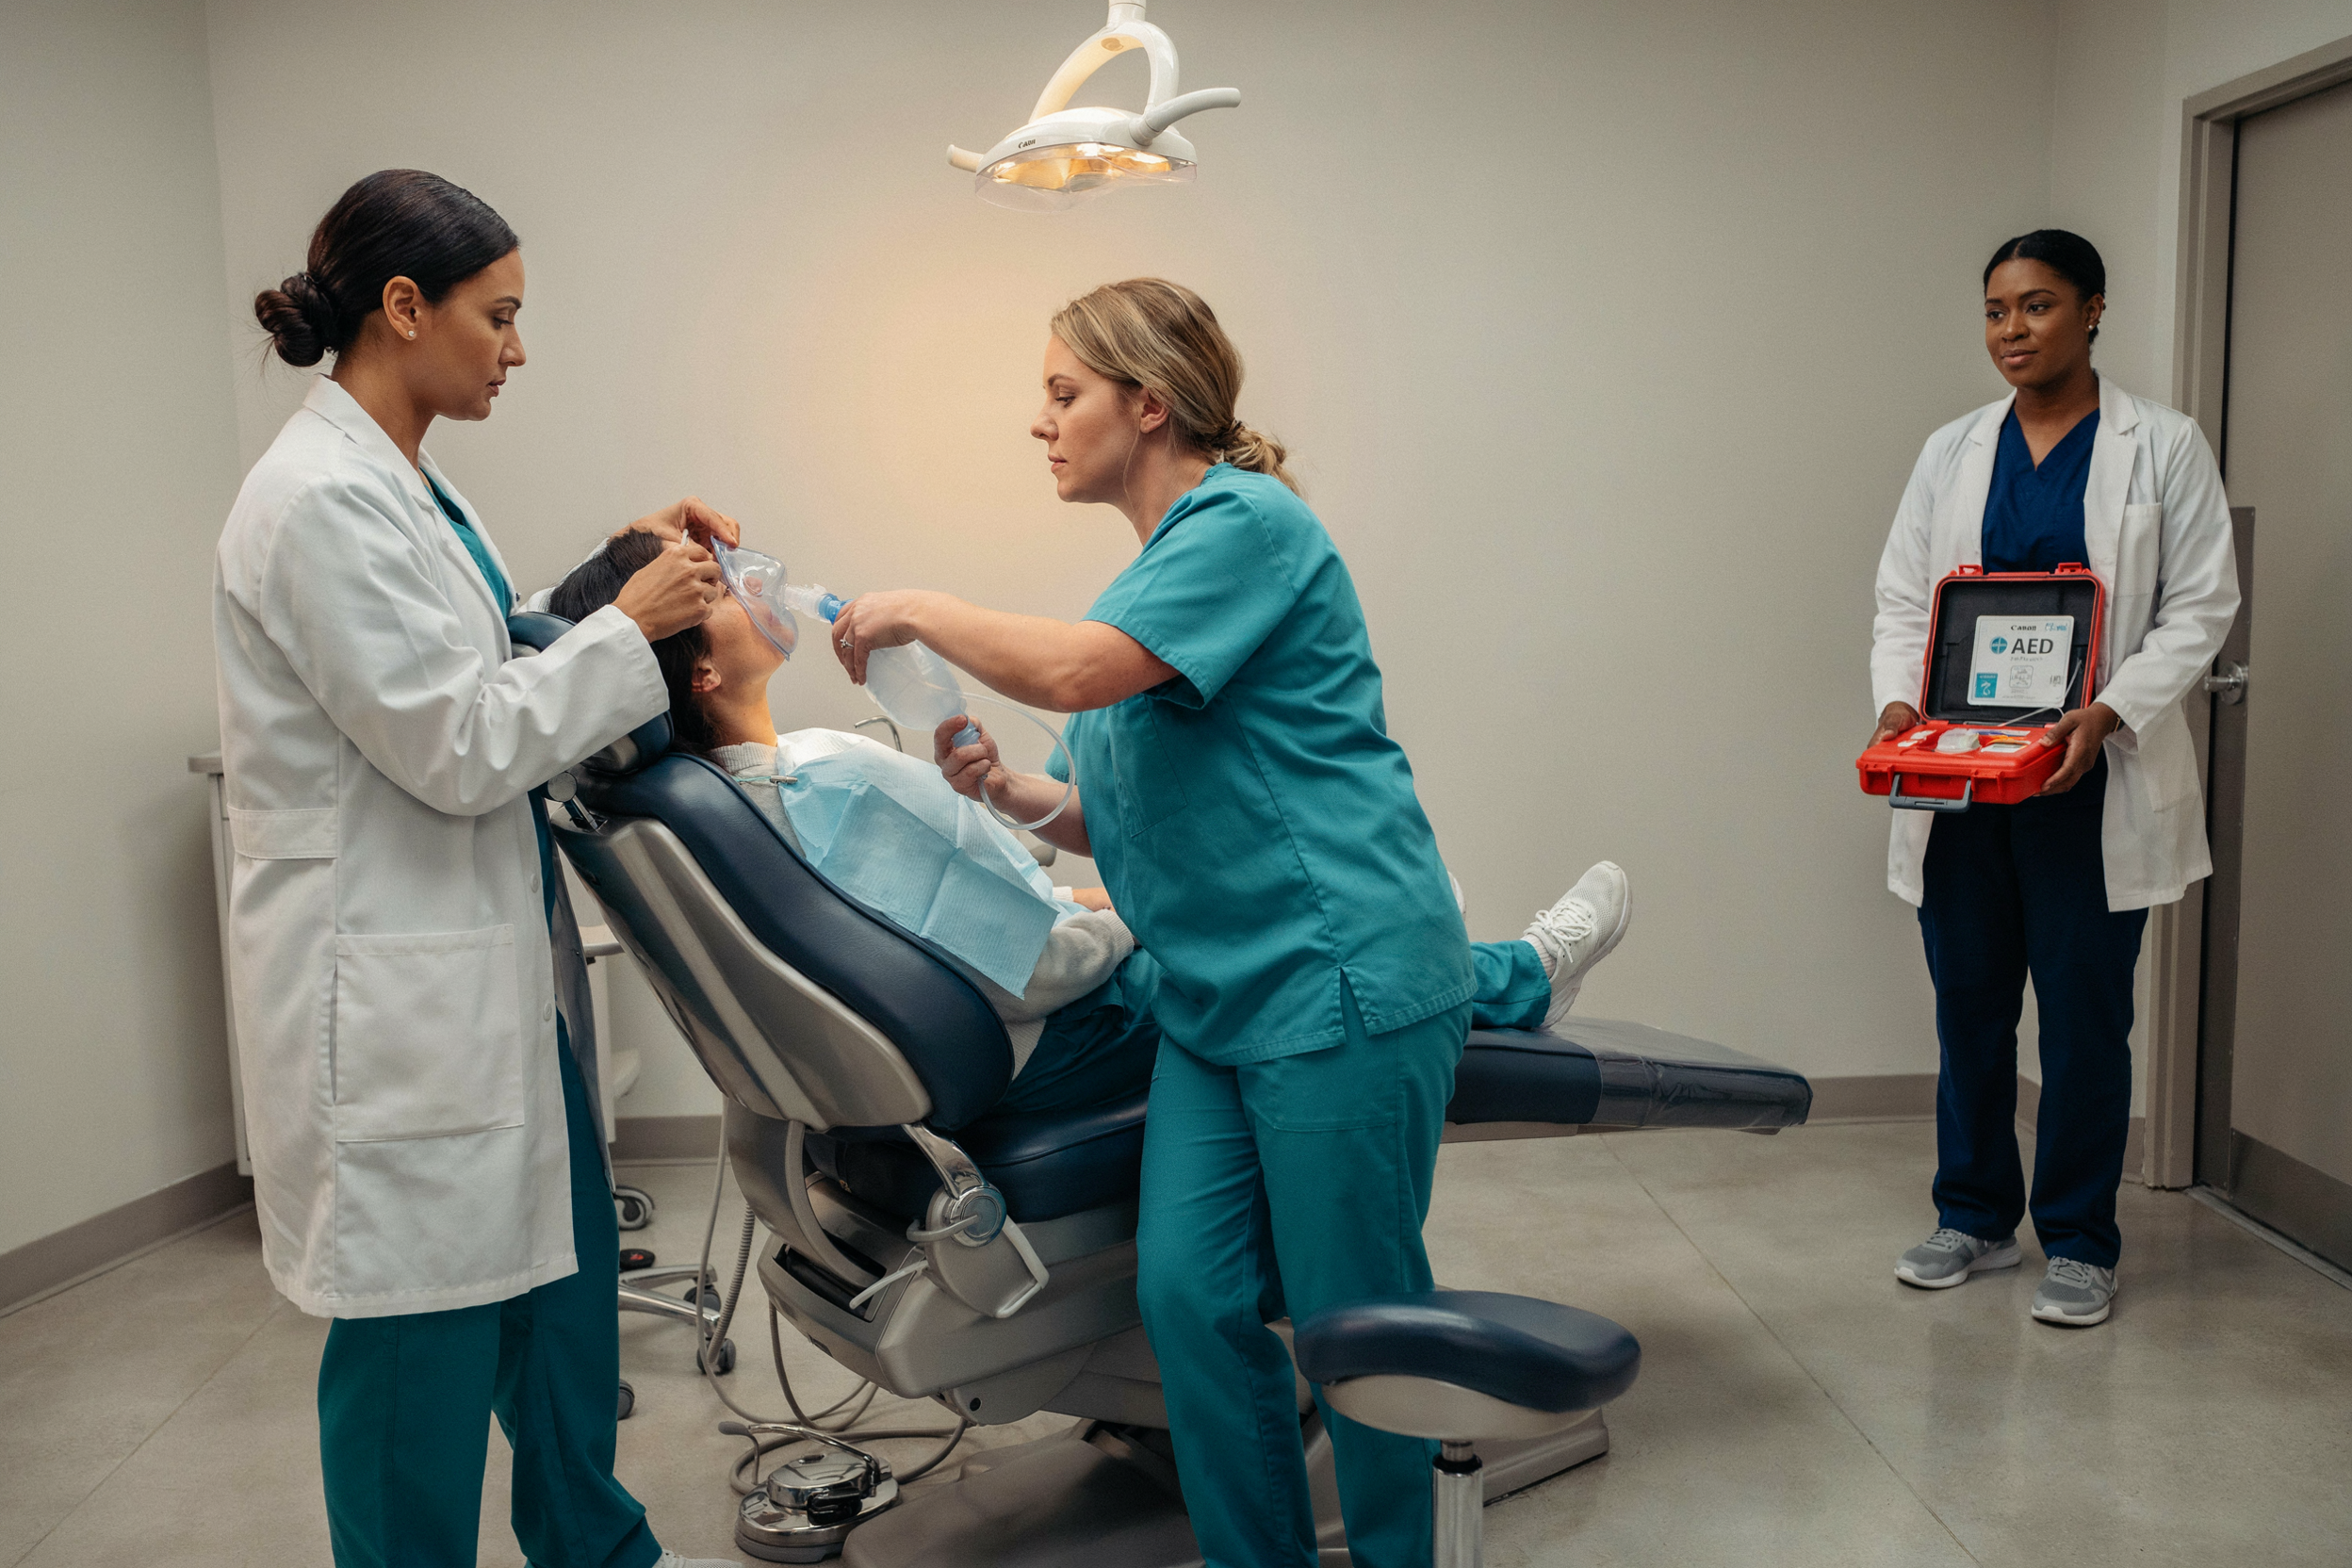
Who Does What in a Dental Surgery
Here's an example, though every practice sets its own roles in its emergency plan:
Role | Who in a typical practice | Task |
Airway and mask | Dentist or sedationist | Two-handed seal, airway position, adjuncts |
Bag | Dental assistant | Squeezes on the airway lead's call |
Compressions | Second assistant or OHT | 30:2 when CPR is needed |
AED, 000 and suction | Third staff member or front desk | Calls 000, brings the AED, runs suction |
Calling Breaths and Swapping Roles
The airway lead calls "squeeze", the bag person responds, and everyone else stays quiet unless something's wrong. If CPR goes on, rotate whoever's on compressions so fatigue doesn't creep in.
That team approach matters most in the situation dental practices worry about most: a patient who's sedated.
Using a Manual Resuscitator for a Sedated Patient
This is the scenario that sits in the back of every sedation team's mind. Most days go exactly to plan, but a medical emergency in the dental chair doesn't give you warning.
Recognizing Breathing Problems Under Sedation
Slowed or shallow breathing
Signs of airway obstruction
Falling saturation
Color change
Reduced responsiveness
First Moves
Stop the procedure.
Clear instruments, packs, cotton rolls and debris from the mouth, then suction.
Reposition the airway.
Give oxygen.
Ventilate with the manual resuscitator if breathing is inadequate.
Call 000 if the patient isn't responding as expected.
That second step is unique to dentistry, because anything left in the mouth can block the airway or be breathed in once you start ventilating.
Moving the Patient for CPR
If CPR is needed, recline the chair flat or move the patient to the floor, following your practice emergency plan. Decide which one before the day you need it, not during.
What the Standards Expect
The Dental Board of Australia's conscious sedation guidance expects the treating team to be trained and current in resuscitation. ANZCA PS09 sets out sedation practice standards too.
Even well-drilled teams slip up under pressure, and most of the slip-ups are the same handful of mistakes.
Common Manual Resuscitator Mistakes (and How to Fix Them)
Every one of these comes up at training, in experienced teams and new starters alike. That's not a criticism, it's just what happens with a skill you rarely use.
Mistake | What happens | Fix |
Mask leak | Little or no air reaches the lungs | Two-handed grip, reposition, check mask size |
Squeezing too hard or too fast | Air enters the stomach | One second per breath, stop at chest rise |
Airway not reopened | No chest rise | Re-tilt the head or jaw thrust; consider an adjunct |
Oxygen off, reservoir flat | Lower oxygen delivered | Check cylinder, tubing and flow |
Material in the mouth | Obstruction, aspiration | Suction before ventilating |
Wrong size for the patient | Poor seal or excess volume | Keep adult and child sizes in the kit |
Missing or expired parts | Delay in a real emergency | Scheduled kit checks with a log |
The mask leak is the big one. If the chest isn't rising, check the seal first, then the airway position.
The common thread through all of these mistakes is practice, or more often, the lack of it.
Keeping the Skill Current: HLTAID015 Training
Remember the assistant in surgery three, holding a resuscitator she hadn't touched since training?
Why Manual Resuscitator Skills Fade
It's a low-frequency, high-stakes skill. Most clinic staff only touch the device at training, and in between, the details drift. Which end of the mask goes where, how hard to squeeze, where the tubing connects.
What HLTAID015 Covers
HLTAID015 Provide Advanced Resuscitation and Oxygen Therapy covers oxygen therapy, airway adjuncts, suction, bag-valve-mask ventilation and AED use. It superseded the older HLTAID007 unit, so if you see that code on old certificates, this is its replacement.
How Often to Refresh
Regular refreshers are the standard expectation, in line with ARC and ANZCOR guidance and what most healthcare employers expect.
Training on Your Own Equipment, After Hours
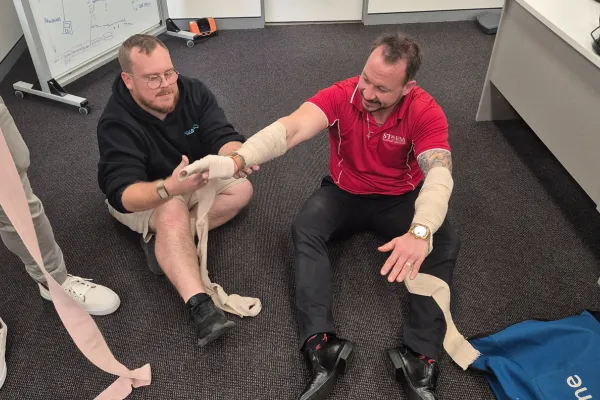
The best advanced resuscitation course is one that comes to your practice. We run onsite advanced resuscitation training after hours, on your practice's own oxygen, suction, resuscitator and AED. No closed surgeries, and your team practices on the exact kit they'd grab in a real emergency.
Why Manual Resuscitator Use Comes Down to Practice
The assistant in surgery three doesn't need to be a hero. She needs a device someone checked recently, a mask she can seal without thinking, oxygen she can connect without fumbling and a team around her that already knows who does what.
Most of that work happens long before the emergency. A quick check, a signed log, and pads and a cylinder that are in date and full stop a real emergency turning into a scramble for missing tubing.
Then there's the technique. Get the seal right, squeeze smoothly and stop at chest rise, simple rules, but under adrenaline they're the first things to go.
And it's never really a one-person job. A team that knows who's on airway, who's on compressions and who's calling 000 moves like a rehearsed unit instead of a group of individuals.
The leaks, the over-squeezing and the flat reservoir aren't signs of a bad team. The fix for all of them is hands-on practice, on your own kit, often enough that it sticks.
Good manual resuscitator use isn't about remembering everything on the day. It's about practicing often enough that you don't have to, so when the call comes from surgery three, your team just moves.