Low Voltage Rescue Hygiene Procedures: 5 Steps to Follow
Low voltage rescue hygiene procedures are the bit nobody really practices. Every year your crew drills the crook, the drag and the isolation till they could do it half asleep. The rescue gets drilled. What comes after it gets left to instinct. And instinct, with your mate on the switch room floor and your own hands shaking, isn't much of a plan.
Here's the thing. The moment that board goes dead, the hazard changes. It stops being about current and starts being about blood, vomit, burns and whatever's now on your gloves. And this one doesn't trip a breaker.
This guide walks through the five steps that come after the rescue. It's the stuff that sits alongside your UETDRRF004 and HLTAID009 training, so you and your crew stay protected long after the rescue is over.
What Are the Hygiene Procedures for Low Voltage Rescue?
Low voltage rescue hygiene procedures are the infection control steps a rescuer follows once the casualty is clear of the live equipment and the power's been isolated. They cover what goes on your hands, how you give rescue breaths, how you deal with burns and body fluids, and what happens to the kit and the waste after.
Glove up before first aid
Use a barrier for rescue breaths
Manage burns and body fluids cleanly
Clean and inspect the rescue kit
Dispose, wash, report and restock
Your crew still needs to practice it hands-on in an LVR and CPR course.
Why hygiene matters
Step 1: Glove up
Step 2: Barrier for breaths
Step 3: Burns and fluids
Step 4: Clean the kit
Step 5: Dispose, wash, report
Crew training
Each step makes more sense once you see why the risk changes the moment the board goes dead.
Why Hygiene Matters After a Low Voltage Rescue
The hazard changes once the power is off
During the rescue, everything's about the current. Isolate if you can, crook or drag if you can't, and get the release done without becoming the next casualty.
But once he's off the board and the power's dead, a new risk walks straight in. Burns that weep, a mouth you might be breathing into, maybe some vomit, maybe blood from where he hit the floor. It's a different job and it needs different habits.
Who is exposed: the rescuer, the casualty and the rest of the crew
It's not just you. The rescuer is closest to the fluids. The casualty's got open burns that can pick up an infection from dirty gloves. And the rest of the crew handle the kit, the waste and the floor afterwards. One slack step and three people are exposed instead of none.
LVR infection control in UETDRRF004 and HLTAID009 training
Your LVR and CPR training puts the rescue and the resuscitation side by side. The First Aid in the Workplace Code of Practice also covers keeping first aid kits stocked with hygiene items, so the gear should already be on site.
It starts with what's on your hands.
Step 1: Glove Up Before First Aid
Insulating rescue gloves vs disposable gloves
Your LVR kit gloves and the nitrile ones in the first aid kit look like they do the same job. They don't. One keeps current out, the other keeps fluids out.
Insulating rescue gloves | Disposable nitrile gloves | |
Purpose | Protect you from electric shock during the release | Protect you and the casualty from body fluids and infection |
Rating | Electrically rated for LV work | No electrical rating at all |
Reuse | Reusable, after inspection | Single use, straight in the bin |
When worn | During the rescue, before the power's confirmed dead | During first aid, once the casualty is clear |
For the full specs, see our low voltage rescue kit guide.
When to make the swap
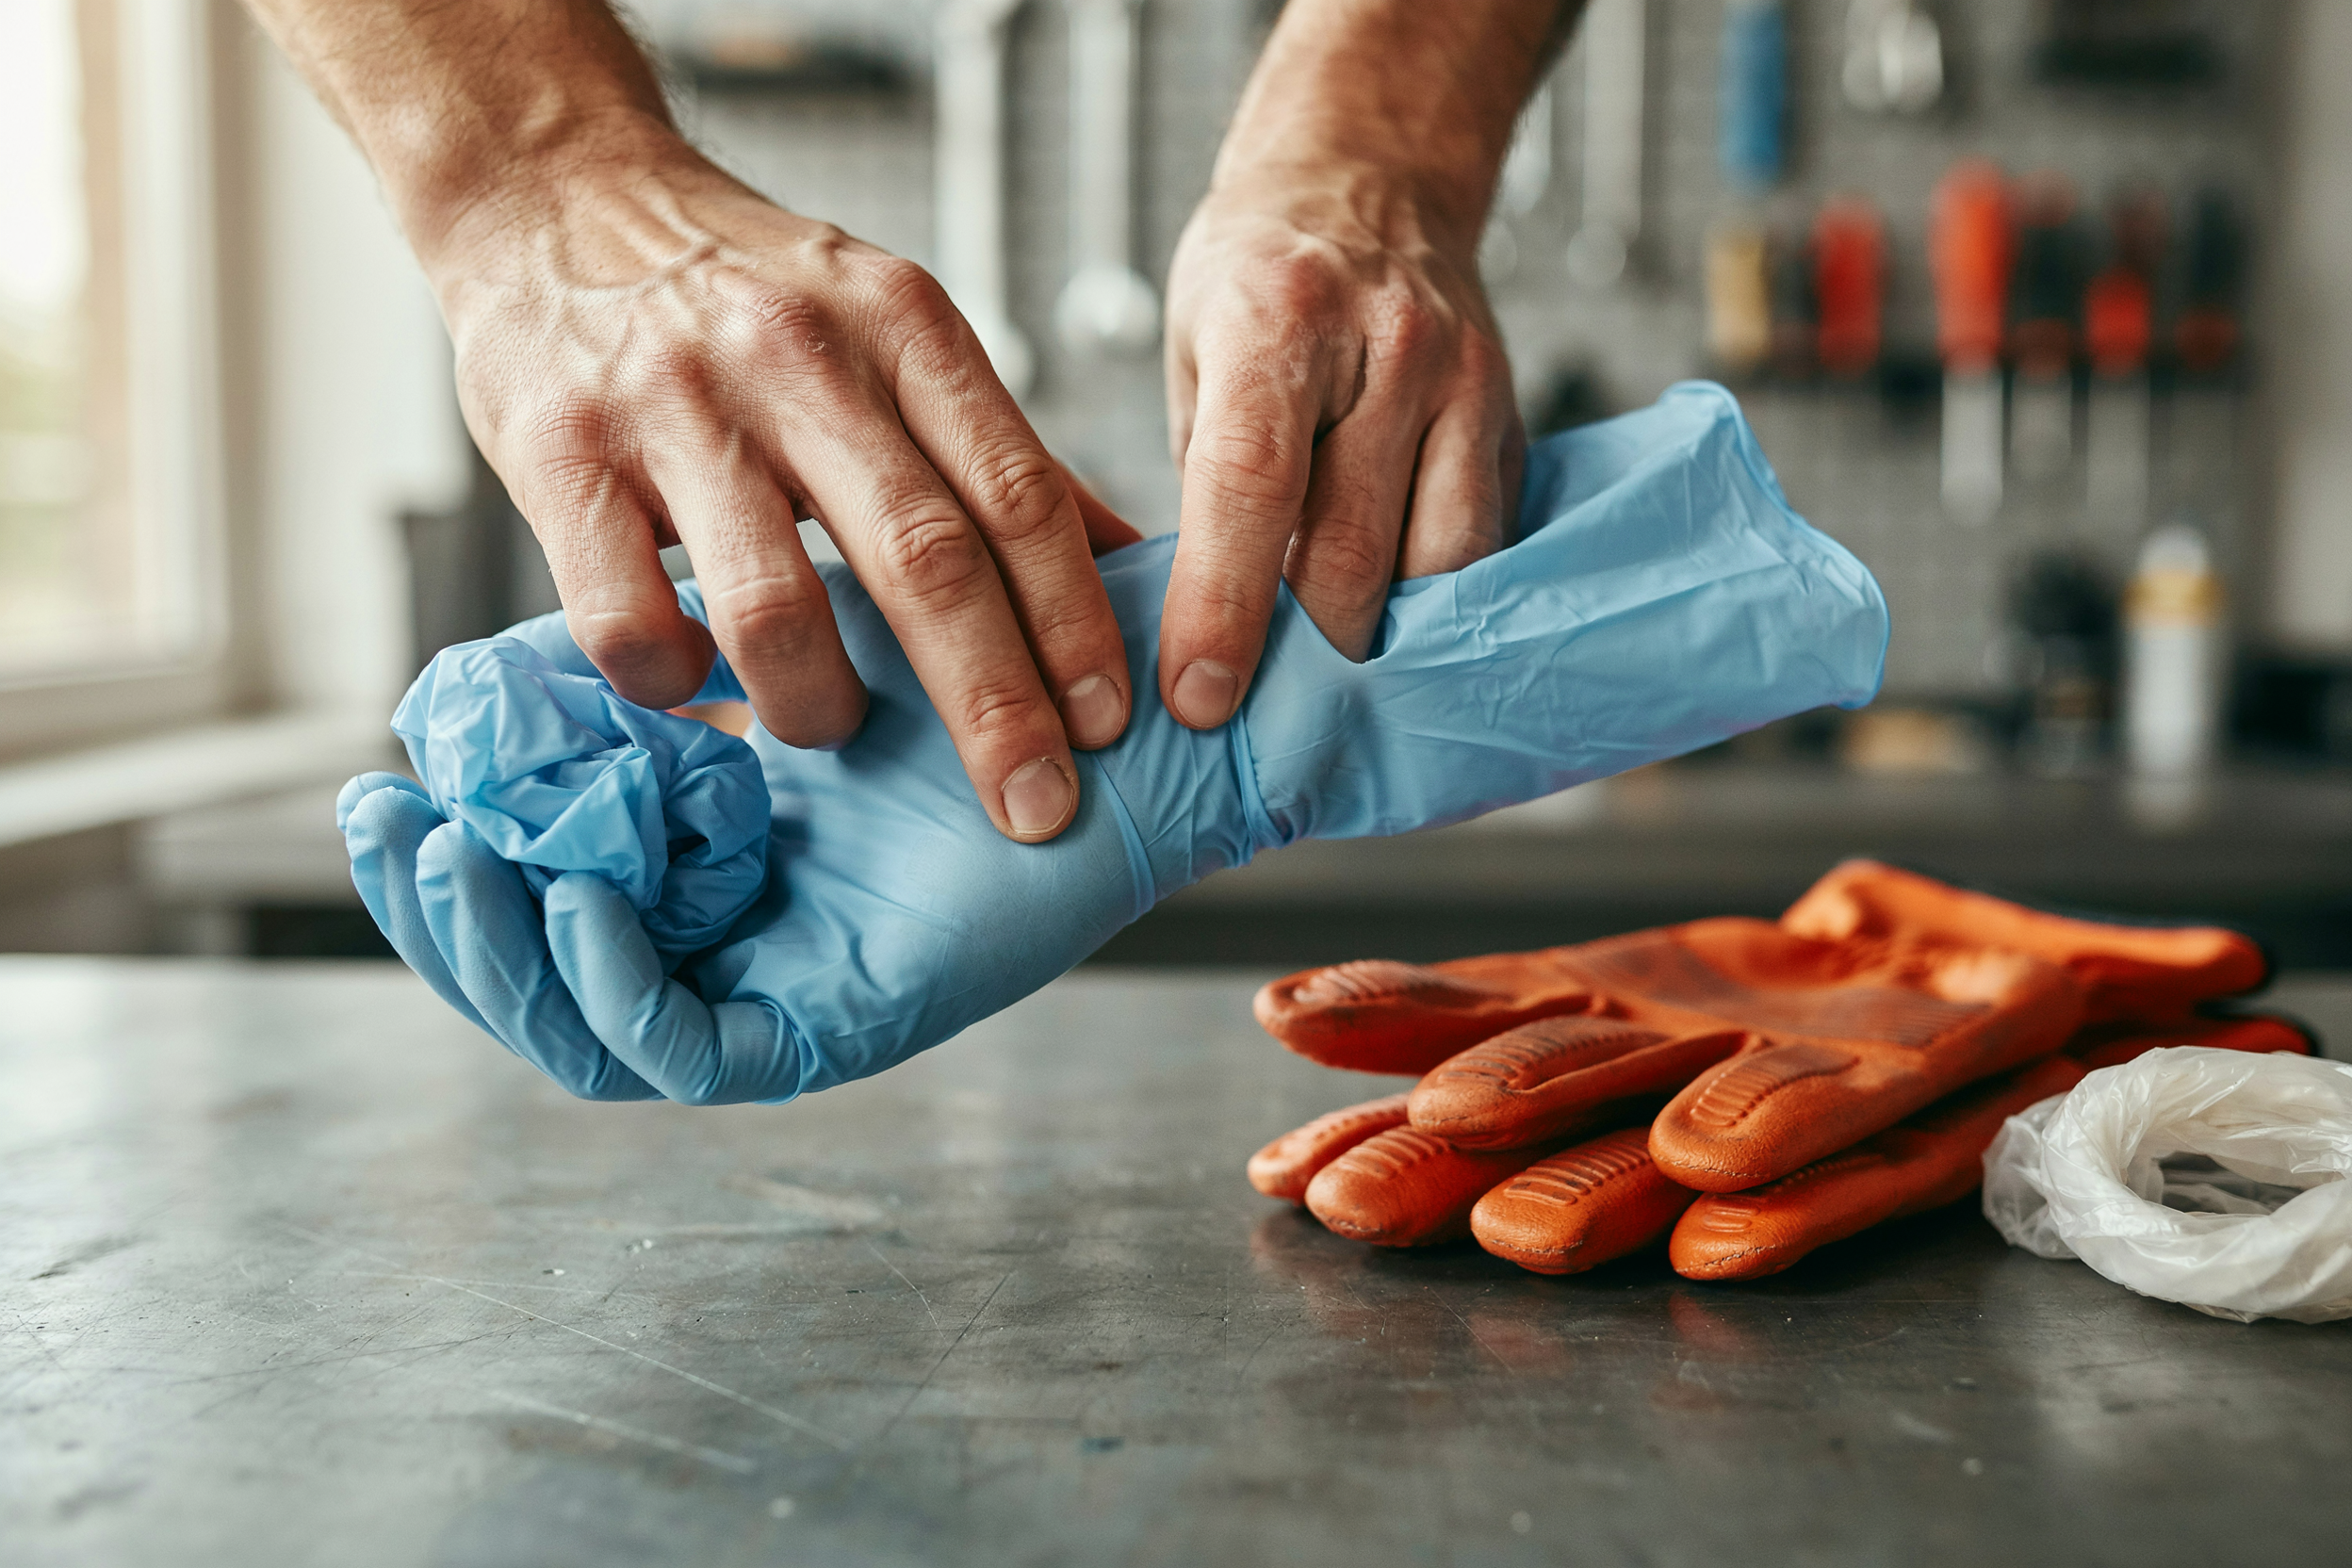
Once the casualty is clear of live parts and you're about to start first aid, rescue gloves off, nitrile on. Keep a pair of nitrile gloves clipped to the LVR kit or in your top pocket so you're not digging around while your mate's on the floor.
Taking gloves off without contaminating your hands
When first aid's done, the outside of your gloves is the dirtiest thing in the room. Peel them off properly:
Pinch one glove at the wrist and peel it off inside out
Hold it in your still-gloved hand
Slide two bare fingers under the other cuff and peel it off over the first
Bin them both and wash your hands
Bare skin only ever touches the inside of the glove. That's the whole trick.
With clean gloves on, the next exposure point is the casualty's airway.
Step 2: Use a Barrier for Rescue Breaths
CPR face shield vs pocket mask
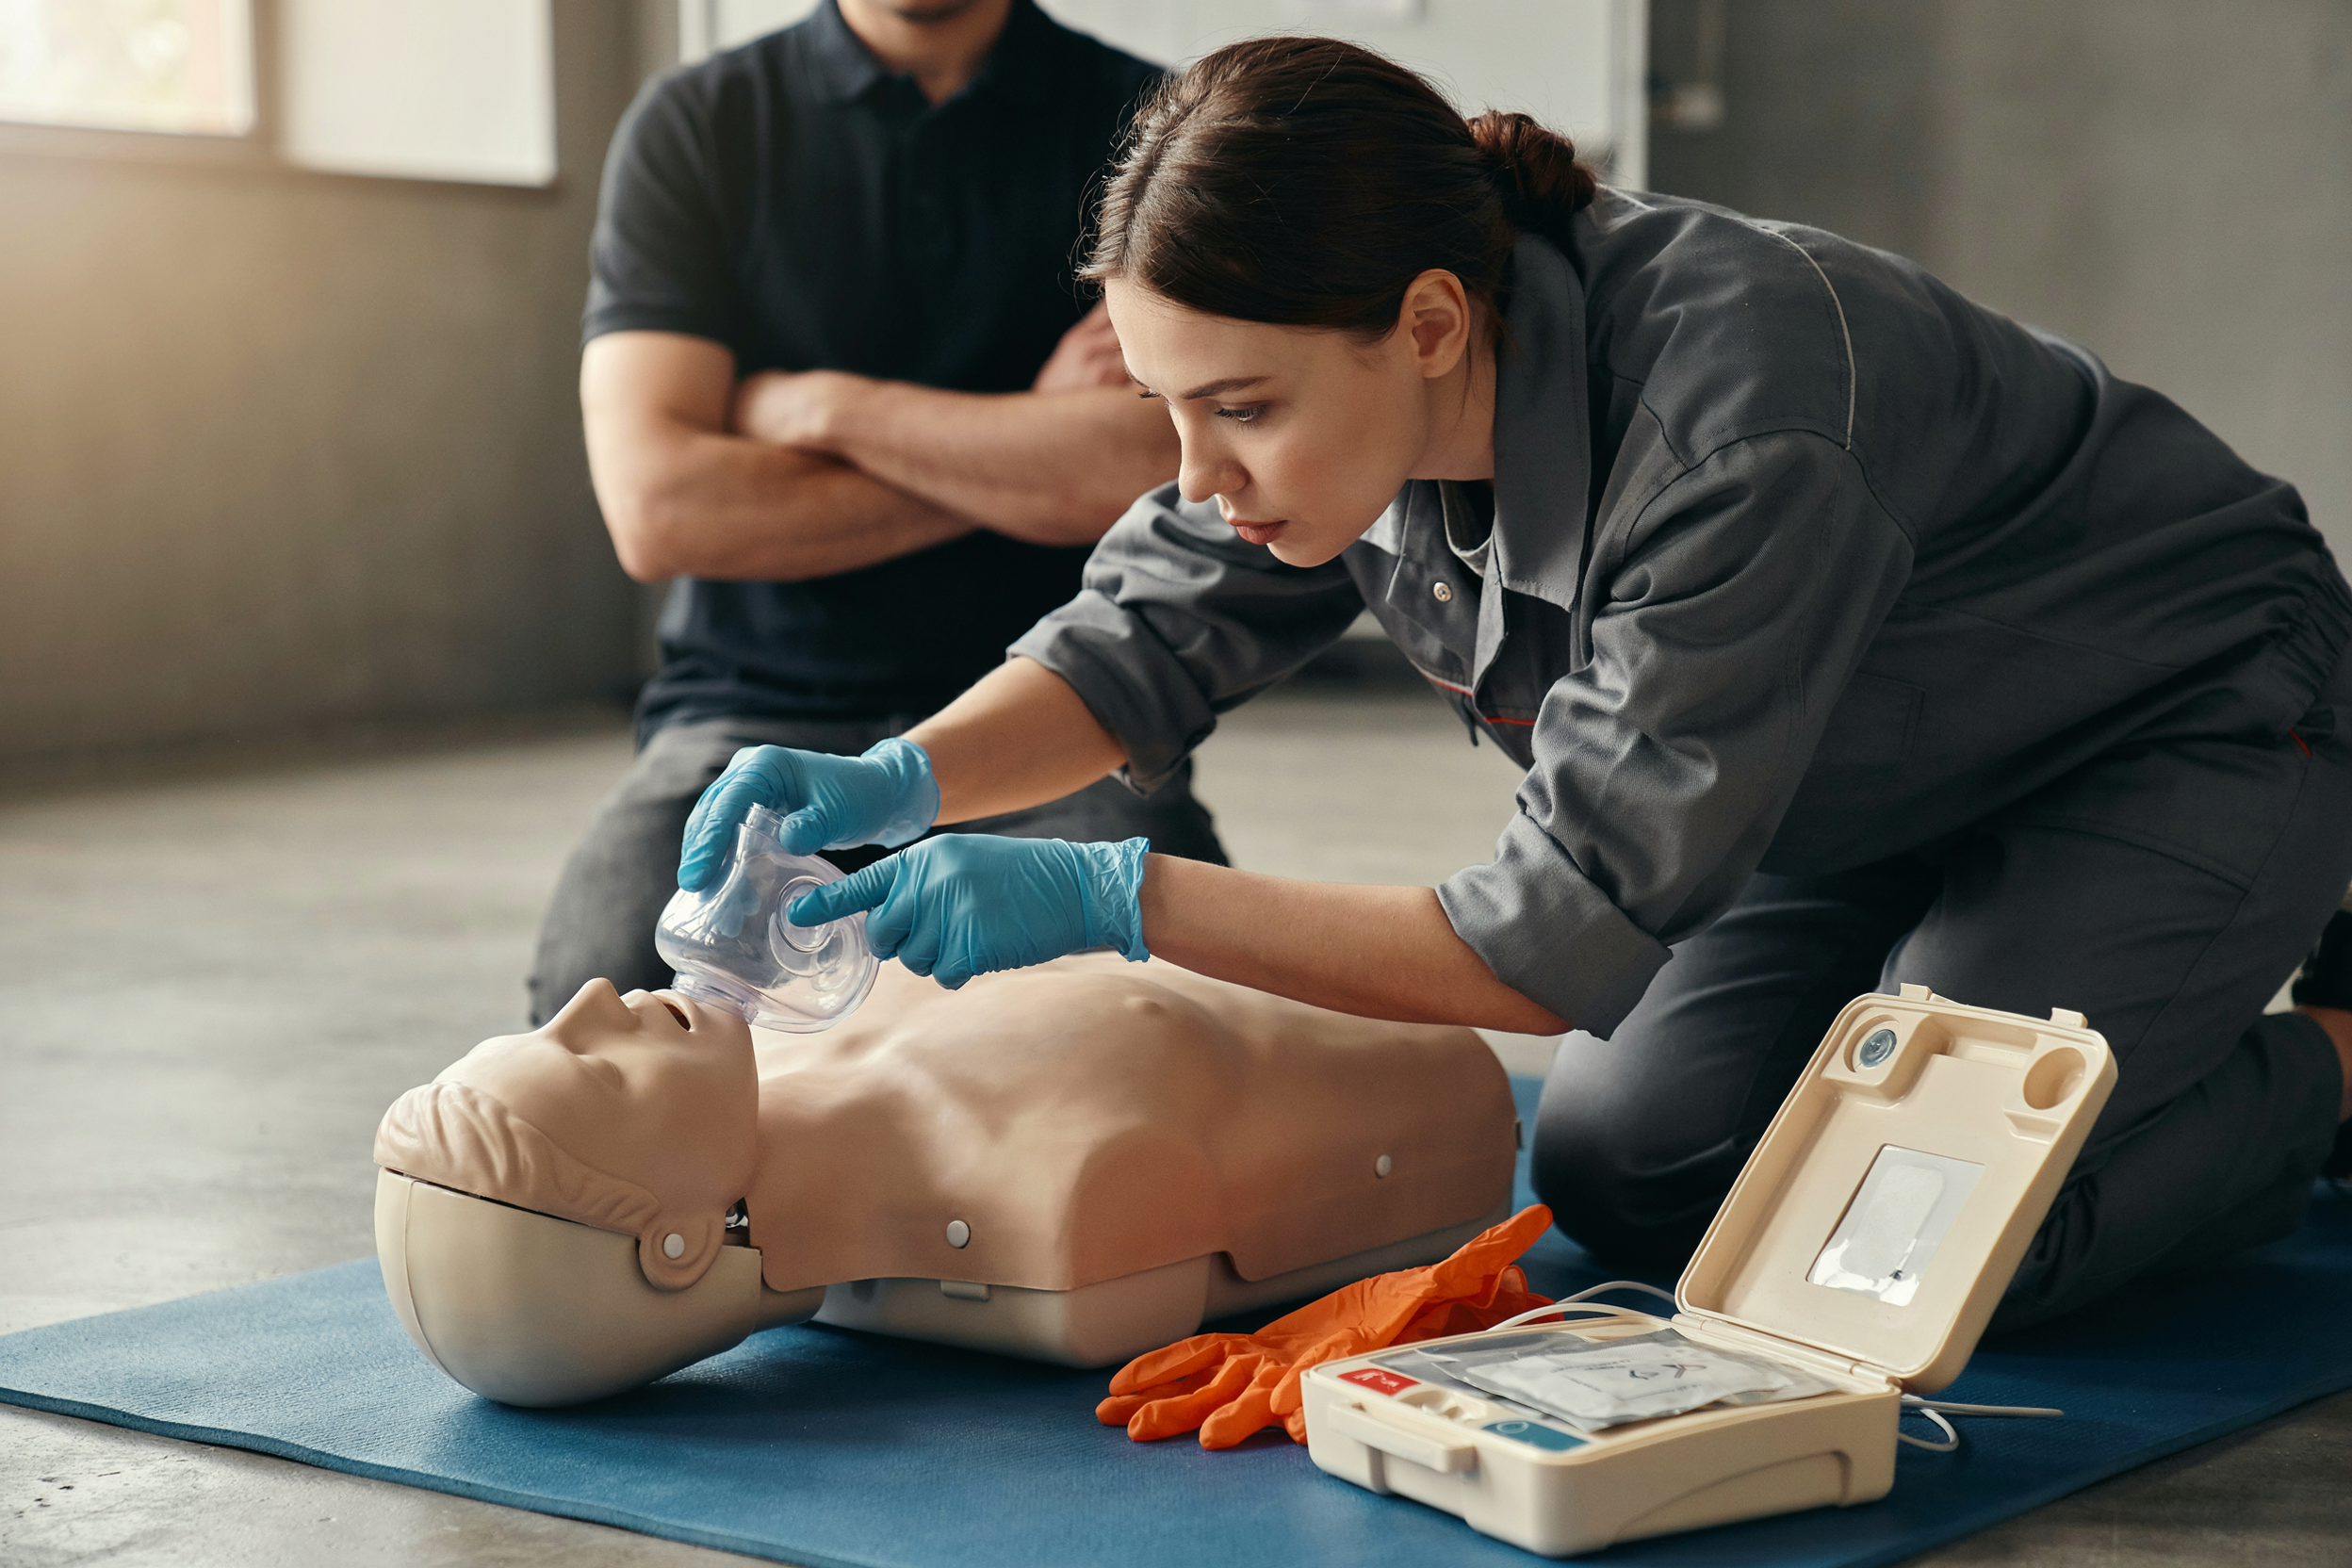
If your mate's not breathing, there might be vomit, blood or saliva around his face. A barrier puts something between you and that.
CPR face shield | Pocket mask | |
How it works | Thin plastic sheet with a one-way valve, laid over the mouth | Rigid mask sealed over mouth and nose, you breathe through a valve |
Usual kit | Keyring pouches, most workplace first aid kits | Larger first aid kits, some LVR kits |
Ease under pressure | Quick to get out, harder to hold a seal | Better seal, takes a bit of practice |
The best one is whichever's actually in your kit and your crew has practiced with.
No barrier in the kit: compression-only CPR as the fallback
No shield, no mask, and you're not willing to give breaths? Don't stop. Push hard, push fast and keep going till help or the AED arrives. Compressions without breaths beat no CPR at all.
If the casualty vomits during CPR
Roll him onto his side, clear the mouth, then roll him back and get straight into compressions again. Keep your gloves on and your face clear of it.
Hygiene when using the AED
The pads need a dry chest, so wipe off sweat or fluid before sticking them on. Gloves stay on. Nobody touches him during analysis or the shock. Cleaning your hands can wait.
Your HLTAID009 CPR course covers all of this hands-on.
Once CPR is under way or the casualty is breathing again, the burns and the mess around them need attention.
Step 3: Manage Burns and Body Fluids Cleanly
Electrical burns: small on the outside, deep on the inside
Electrical burns are sneaky. A little entry mark and a little exit mark can hide a path of cooked tissue in between. Treat every electrical burn as serious and get him checked by paramedics.
Those entry and exit wounds are open skin too. That's a way in for infection, which is why you're in clean nitrile gloves by now.
Cool first, then cover with a clean, non-stick dressing
Cool running water is the standard, but only once you're well clear of the board. If you can't get water safely near him, a hydrogel burns dressing does the job. No ice, no butter, no creams.
Then cover it loosely with a clean, non-stick dressing. Nothing fluffy like cotton wool. If there's no burns dressing in your kit, check our low voltage rescue kit guide for what should be there.
Cleaning up blood and fluids in a switch room
After the ambos have taken him, there's usually a mess. Don't leave it for the next bloke to find.
Fresh nitrile gloves on before you touch anything
Soak up spills with paper towel or spill kit absorbent
Bag everything that's had fluid on it
Wipe the area with damp cloths and detergent, then disinfectant. No buckets, no hoses
Keep people out till it's clean and dry
When the ambulance has gone, the job isn't finished until the kit is ready for the next one.
Step 4: Clean and Inspect the Rescue Kit
Cleaning a low voltage rescue kit after use
The crook's been on the floor and the gloves have been handled with sweaty hands. It all needs to be cleaned before it goes back on the wall.
Go by the manufacturer's instructions for use. Mild soapy water and a cloth, then let everything dry properly. Keep it well away from oil-based products and hydrocarbons, so no degreaser, no solvents, no rag you used on the ute. That stuff can break down the insulation without you noticing.
Insulating gloves after contamination: clean, retest or replace
If your rescue gloves have blood or fluid on them, you need to decide whether they can be cleaned and put back into service, or whether they need retesting or replacing. If you're not sure, don't guess. A glove you're not confident in isn't one to rely on next time.
AED wipe-down and replacing used pads
Wipe the AED down with a cleaning product the manufacturer approves. Used pads go in the bin and a fresh set goes in. Check the status indicator's showing ready before you put it back.
Pull defective items from service
Anything cracked, split, perished or past its date comes out. Tag it and get it replaced.
Most manufacturers also recommend a regular clean and inspect. That's their guidance rather than a legal requirement, but it's a good habit. Our low voltage rescue kit guide goes through what to check, item by item.
Kit clean, crew current? Book your crew's LVR + CPR renewals.
A clean kit is only half of it. The waste, your hands and the paperwork still need sorting.
Step 5: Dispose, Wash, Report and Restock
Bagging contaminated waste
Everything with blood or fluid on it goes in a sealed bag: used gloves, dressings, face shields, paper towel, old AED pads. Tie it off and don't leave it in the switch room bin. How it's disposed of from there depends on what your site and waste provider require.
Hand hygiene for the rescuer and the crew
Once the gloves are off and the waste is bagged, wash your hands properly with soap and water. Not a quick rinse. Anyone who touched the casualty, the kit or the clean-up does the same.
If you've had blood or fluid exposure, get it checked
Blood in a cut, a splash in the eyes or mouth, spit in your face during breaths. Wash the skin with soap and water, flush eyes or mouth with plenty of water, then see a doctor straight away. Some follow-up treatment works best when it's started early.
Reporting the incident
An electric shock at work generally needs to be reported to your electrical safety regulator. Write down what happened while it's fresh, including who did the rescue, who gave first aid and anyone who had a fluid exposure.
Restock before the kit goes back on the wall
Nitrile gloves, face shield, burns dressing, AED pads. Whatever got used gets replaced before the kit's hung back up.
Reading five steps is one thing. Doing them with your heart racing is another, and that's where training comes in.
Building LVR Hygiene Into Your Crew's Training
What a practical LVR and CPR session should cover
A good session doesn't stop at the release. It runs the whole thing: the crook and the drag, the glove swap, the face shield, CPR on a manikin, the AED, and the clean-up. If you only watched slides, it wasn't practical training.
Onsite training at your workshop or client site
Onsite training brings the trainer and the gear to your workshop or a client site. The boys practice somewhere that looks like where they actually work, and they're back on the tools sooner.
One renewal date for the whole crew
If everyone did their tickets at different times, someone's always about to lapse. Book the whole crew into one session and they all renew together.
Getting your mate off a live board is the part everyone remembers. It's the bit you drill every year and fair enough. But what happens straight after it decides whether anyone walks away carrying something they never signed up for.
The switch happens fast. One moment you're thinking about current, the next you're kneeling over a casualty with burns, maybe some blood and a mouth that needs breaths. The danger hasn't gone away. It's just changed shape.
That's why the five steps matter. Swap to nitrile, use a barrier or go compression-only, cool and cover the burns, clean the kit, then bag the waste, wash up, get checked, report it and restock.
None of it's hard. It just needs practicing with hands on the gear.
So treat low voltage rescue hygiene procedures like part of the rescue, not an afterthought. Drill them as hard as the crook and the drag, keep the kit stocked, and get everyone trained together. Do that and you and your crew stay protected long after the rescue is over.